


I am one of those people who regularly use AI services from well-known providers for questions, troubleshooting, code generation, and other topics. However, I had never really thought about establishing my own AI service in a lab environment until now. Because VMware provides “Private AI Services” (PAIS), my peer Christian Liebner and I decided to deploy them in our lab.
Special thanks to Deny Aleksandrov for all his support!
PAIS is a great way to offer users the deployment of the model of their choice where they don’t need to care about all the backend complexity needed to get it work. Developers can get a simple interface to manage everything on VCF Automation. In fact, PAIS deployment is also supported for a vSphere only environment if that’s desired. Although we will present some out-of-the-box chat and knowledge base capabilities in the UI, most probably customers will run their own agents against the APIs provided.
This blog post explains how we achieved a working installation. It is not intended to be comprehensive documentation, nor does it provide architectural best practices. Its main purpose is to give newcomers to AI services (as we were) a clear, tangible path to understand what the setup looks like.
In fact, one of our first questions was whether we could build a demo platform on a purely nested environment running on CPUs only. Initially, we were not sure whether that was possible at all. Obviously, virtualized CPUs will not provide the level of performance needed for larger models, but it does work overall and serves as a great way to demonstrate functionality. So the answer is: Yes, it works with virtualized CPUs.
Pre-requisites
To build such an environment, you need a few prerequisites in place beforehand:
- Supervisor installation
- VCF Automation installation (in our case, version 9.1.1.0200)
- Working vSphere Kubernetes Service (VKS) deployment
- PostgreSQL database (either a manual installation or managed via Data Services Manager)
- Harbor registry installation
- Docker client and vcfcli on a Windows or Linux system (Linux preferred)
Product download and repository configuration
Let’s start with the download of Private AI Services (PAIS) 3.0 from the Broadcom portal. VMware Private AI Services has its own section in the Broadcom download portal. You will find two options to download a YAML file for version 3.0.0:
- pais-3.0.0.yml
This option references the internal Harbor registry for downloading its bits. With newer versions of VCF, the architecture requires installing a regional Harbor environment that caches binaries from the software depot. This is independent of PAIS and applies to other downloads as well. - pais-3.0.0-external.yml
This option uses the Broadcom public repository directly without leveraging a regional Harbor instance.
For our initial setup, we decided to use the latter option with a direct Broadcom repository connection. When you examine the YAML file, you will see this repository reference pointing to pais-docker.packages.broadcom.com.
When using this path, you must create a registry token on the support portal, which remains valid for 3 days. It is only required for the initial installation (and potential future upgrades).
Go to “My Downloads” and click on the “Registry Tokens” button.

Generate a new token, add a description, and copy it to your notepad.

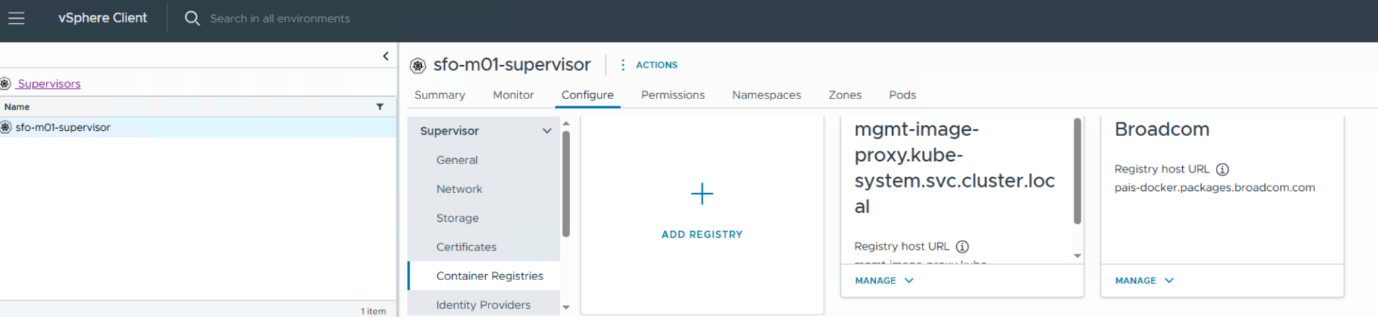
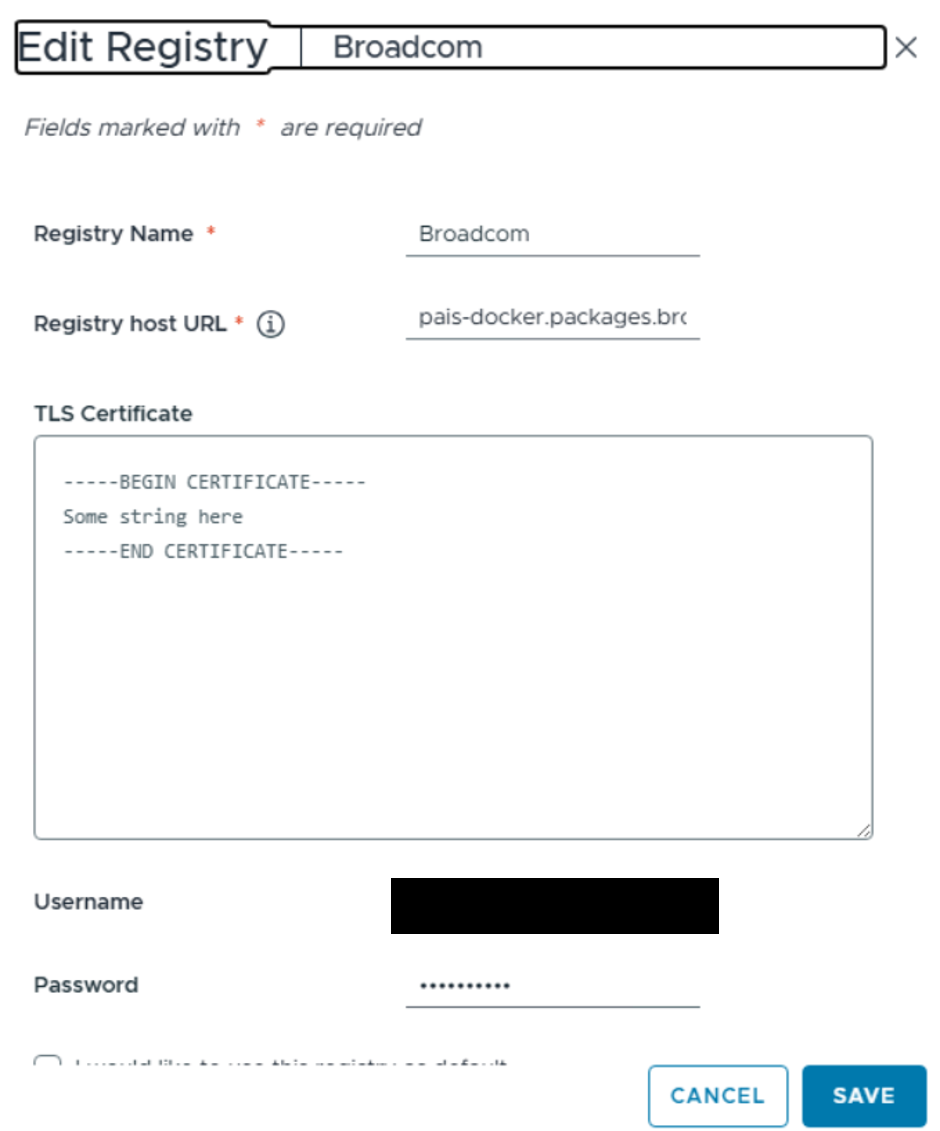
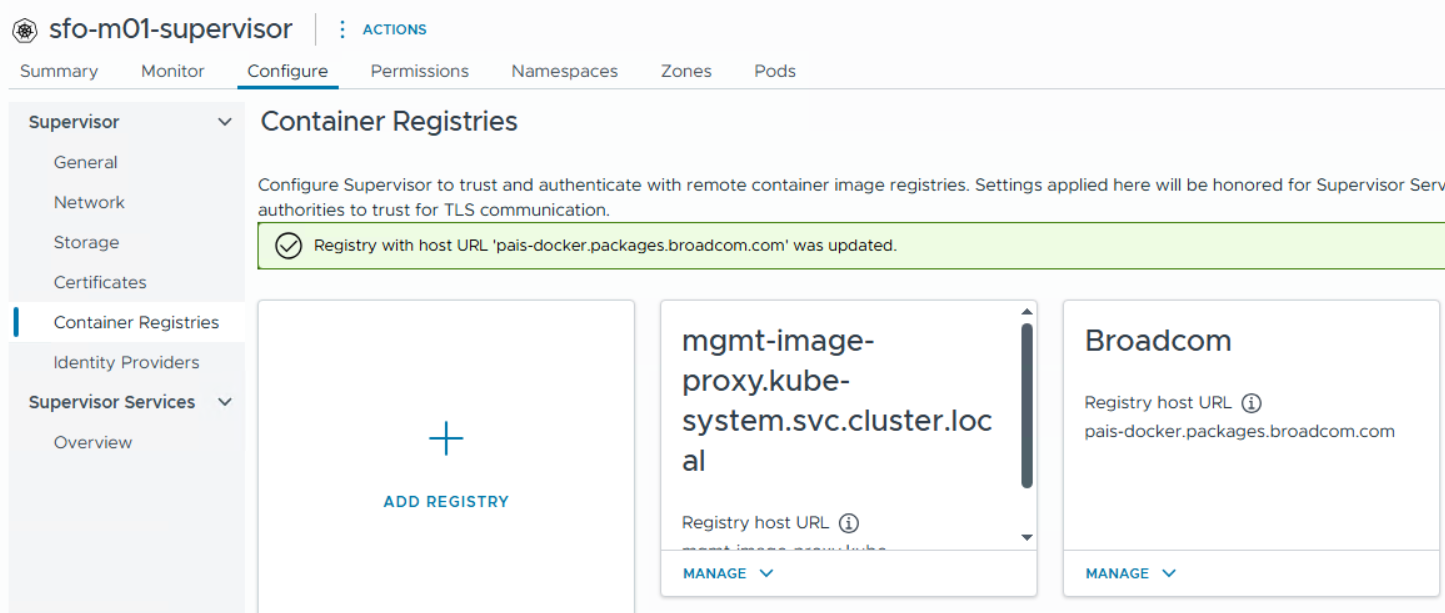
Navigate to your Supervisor configuration and go to “Configure” > “Container Registries”. On this page, create a new registry configuration that points to pais-docker.packages.broadcom.com (as specified in the YAML file). For the username, use the email address with which you created the registry token; the password is the token generated in the previous step.
Installing PAIS on the supervisor
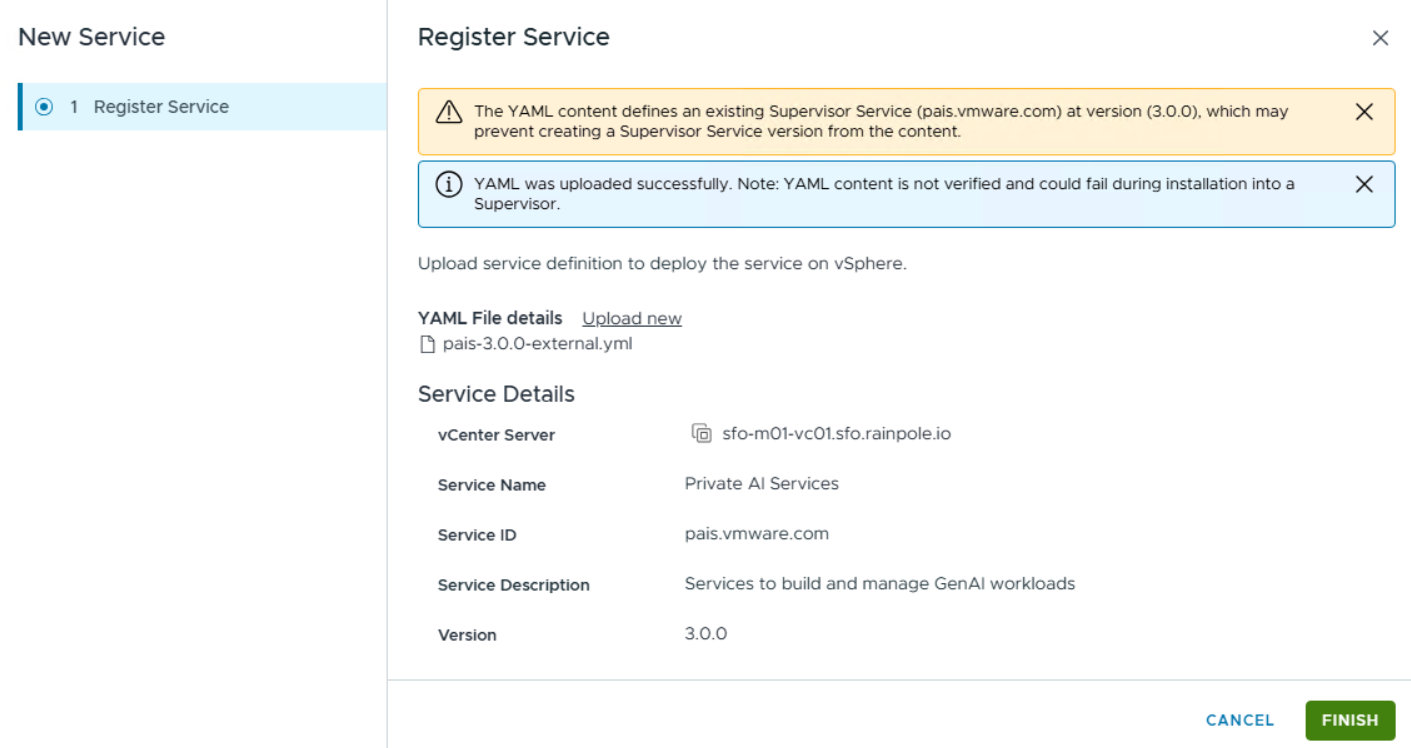
As the next step, go to your Supervisor Management and add a new service.
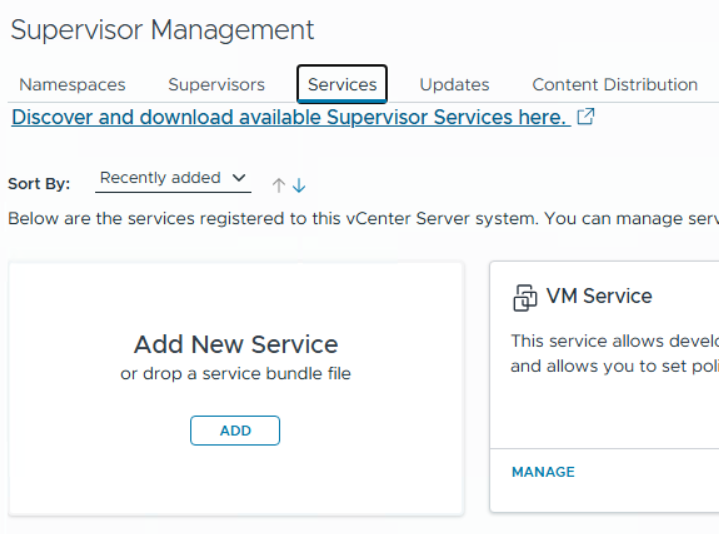
Upload the YAML file and finish the setup wizard.
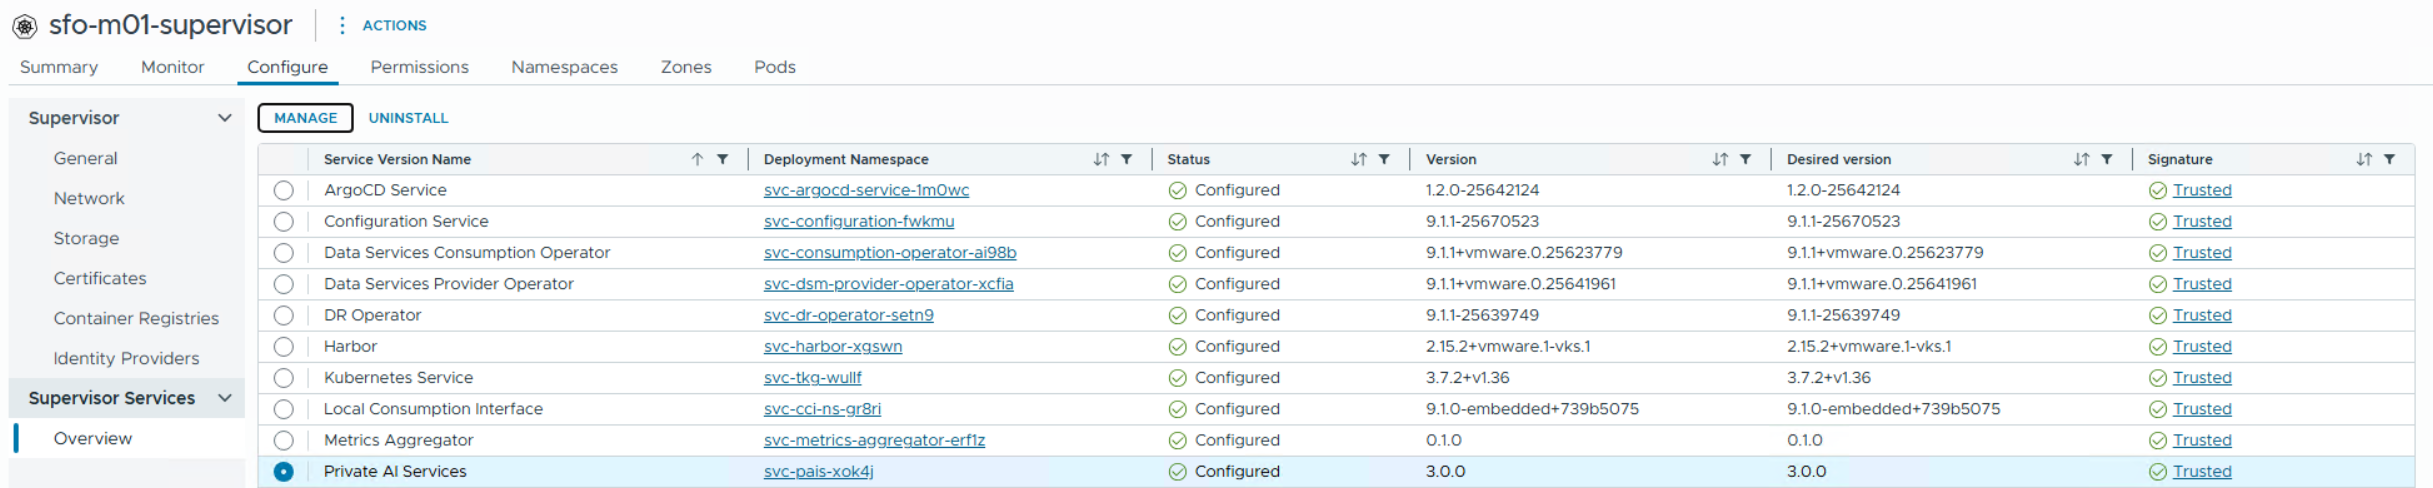
You can monitor the PAIS service installation status on the Overview page.
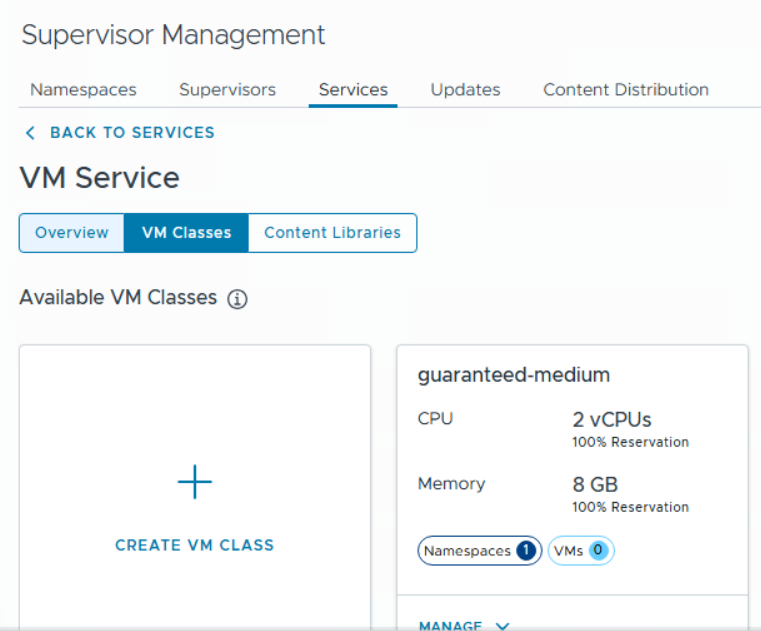
In a later step, we will deploy a language model into the environment. Technically, PAIS deploys a VKS cluster where a dedicated worker node is added for each language model. Because these models are quite resource-intensive, I recommend creating a custom VM class with full resource reservations to avoid running into any resource constraints.
To do this, navigate to the management view of your VM Service.

Under the VM Classes tab, you can create a new VM class for this purpose.
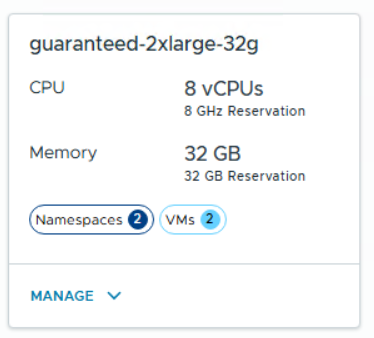
The exact sizing depends on your needs, but 8 vCPUs with an 8 GHz reservation and 32 GB RAM with a 32 GB reservation provides a solid starting point.
Download the language model
PAIS does not come bundled with its own language model; you must provide whichever model fits your use case. It does not matter where the model originates, but Hugging Face is the most common source. Please refer to the Hugging Face documentation for instructions on installing the hf client on your system. To download a model, supply its repository identifier to the hf executable. Here is an example command:
./hf download qwen/qwen2.5-1.5b-instruct-gguf –local-dir qwen/qwen2.5-1.5b-instruct-gguf
When you first visit Hugging Face, you might feel overwhelmed by the vast number of models available. Finding the right one can be tricky, especially if you are not an AI expert (as we weren’t).
Here is some straightforward guidance on how we selected the right model. Again, this reflects our own practical understanding, and AI experts would certainly add more detail or perspective. Here is how we approached it:
There are completion models and embedding models:
- Completion models
- Typically used when you want a direct text response, such as in chatbots or code generation.
- You can identify them by naming conventions like “instruct” or “chat”.
- Embedding models
- Convert text into numerical vectors for downstream processing.
- Used by other models to extend their context, such as for custom document search or knowledge bases.
- You can identify them by naming conventions like “embed” or “bge”.
There are models tailored for GPUs and models tailored for CPUs:
- CPU models
- Typical naming indicators: “gguf” or “q4_k_m”.
- Model size is usually under 9B parameters.
- GPU models
- Typical naming indicators: “AWQ”, “GPTQ”, “FP16”, or “BF16”.
- Available across all model sizes.
Public AI chatbots are a great help in finding the right model for your intent. Also ensure that your model fits within the memory size defined in your VM class. As a rough rule of thumb, budget approximately 1 GB of RAM per 1B parameters for quantized models.
If you download a model whose folder or repository name contains uppercase characters, make sure to rename them entirely to lowercase, as this is a strict requirement for use in PAIS.
In our demo environment, we used:
- qwen/qwen2.5-1.5b-instruct-gguf for completion/chat
- baai/bge-small-en-v1.5-gguf for embeddings
Harbor upload
Harbor is required as the centralized model store. You upload your model to the Harbor instance, and when you configure a new model in PAIS, it references the Harbor image already hosted there.
Now that you have downloaded the right model, you need to upload it to your Harbor instance. Make sure you have installed Harbor as a Supervisor service.
The easiest way to install Harbor is through deployment as a VCF Automation service.
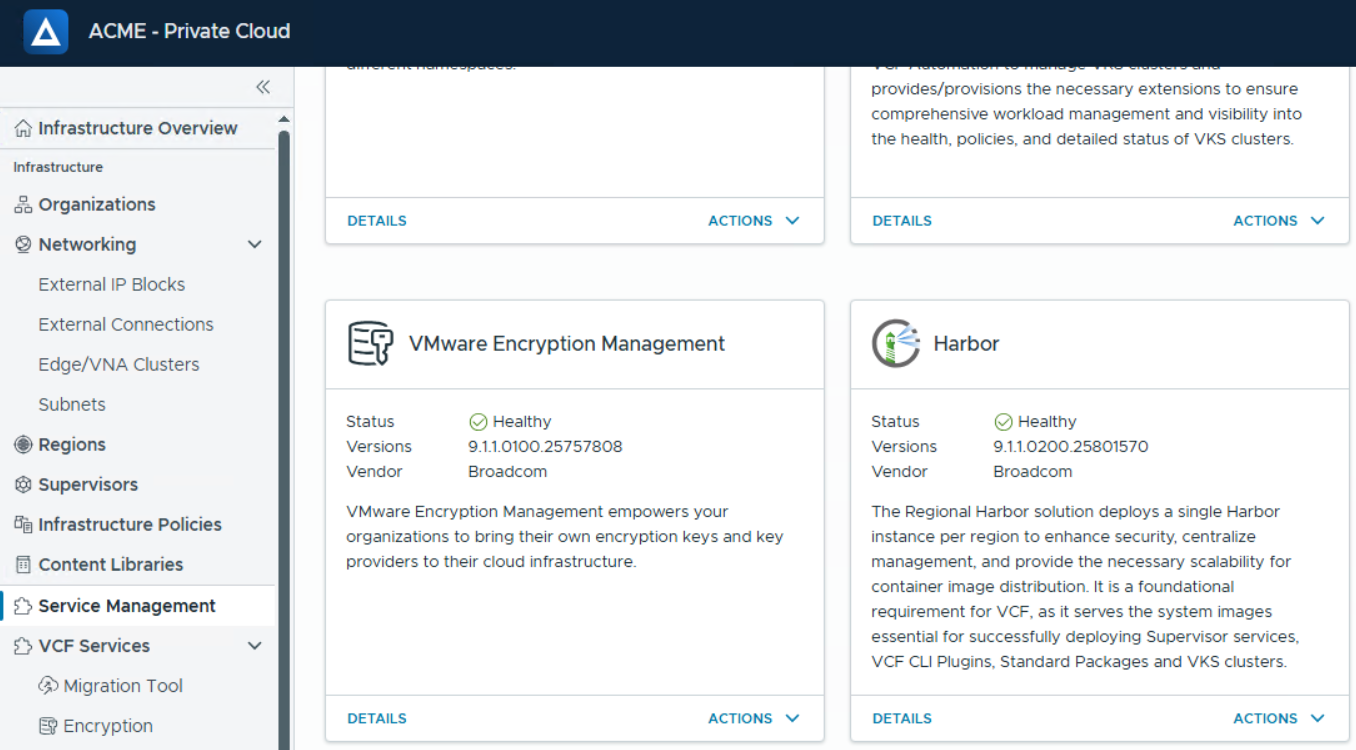
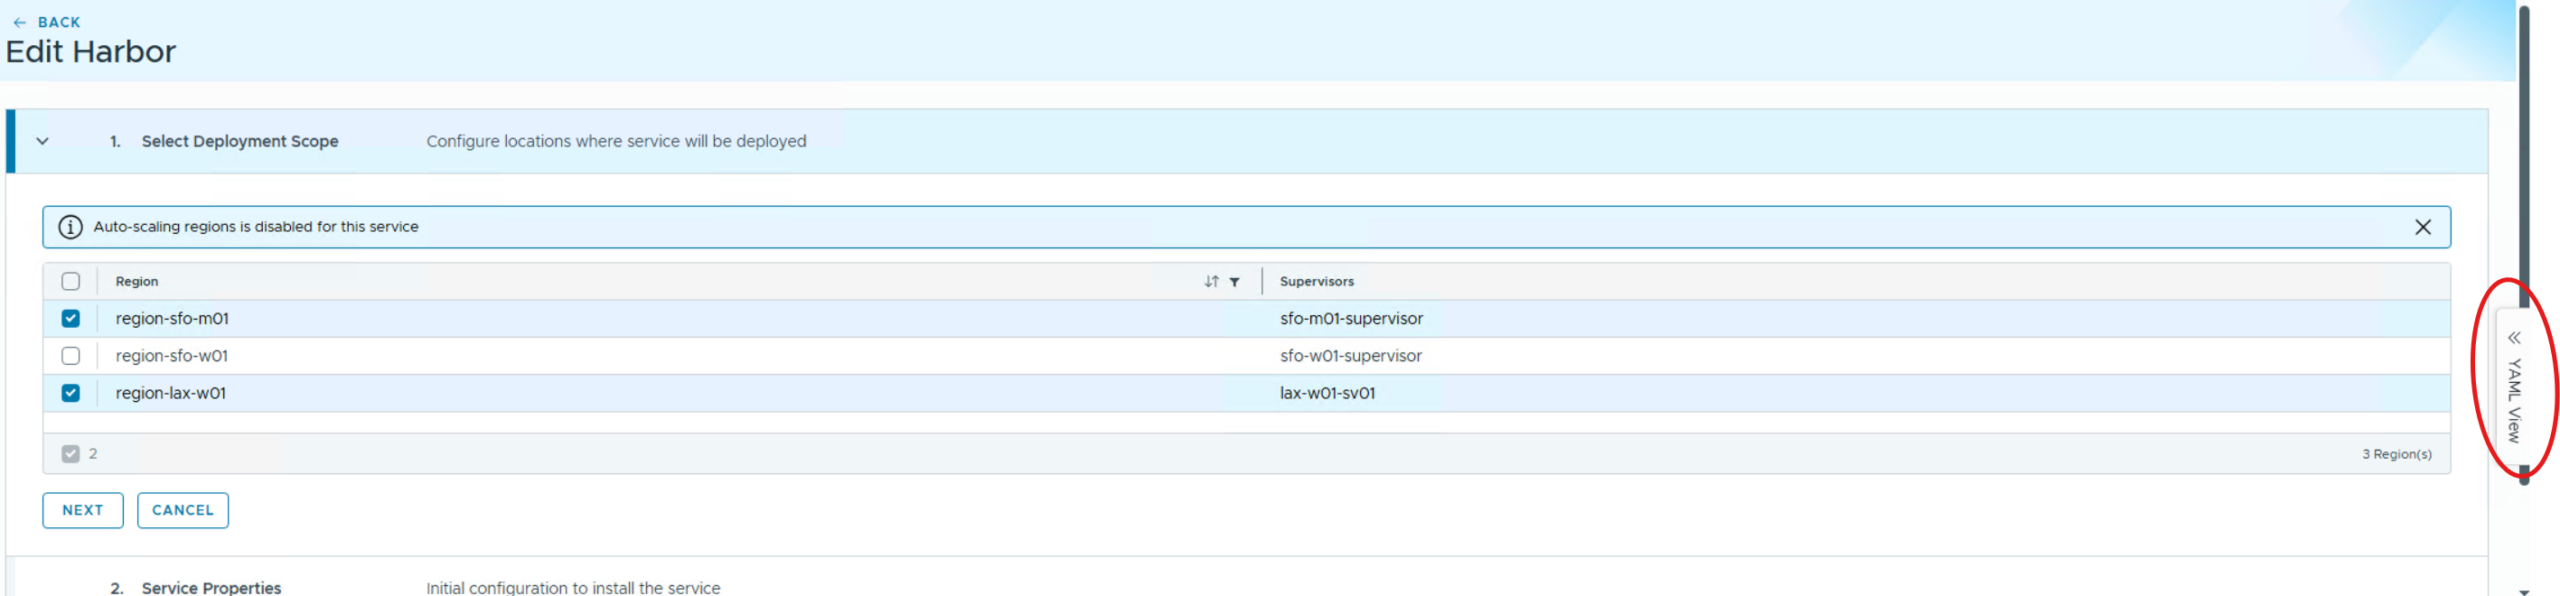
Once successfully deployed, you can retrieve the initial admin password directly from the YAML. Edit the existing configuration and open the YAML view.
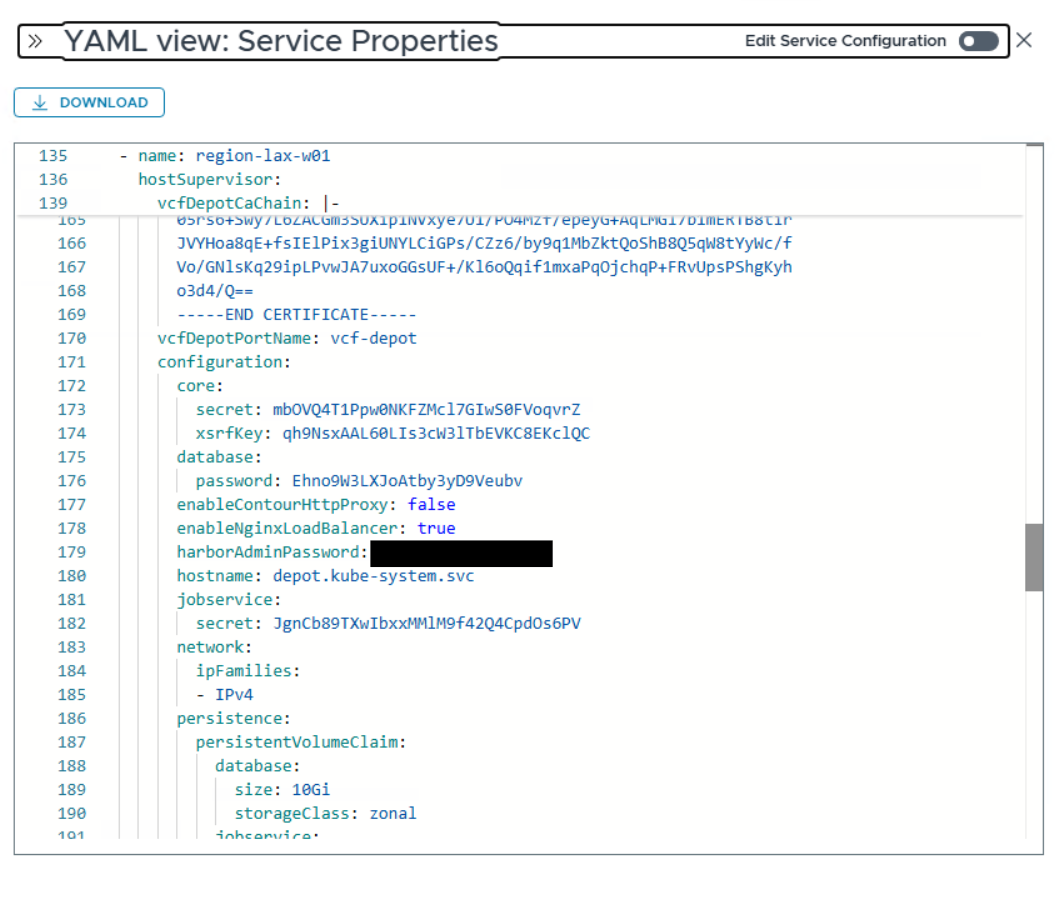
In the YAML view, you will find the initial admin password (which can, of course, be changed later). If you are not familiar with harbor in general, find more details in the public documentation.
Check the Supervisor configuration to retrieve the IP address used to access the Harbor service.
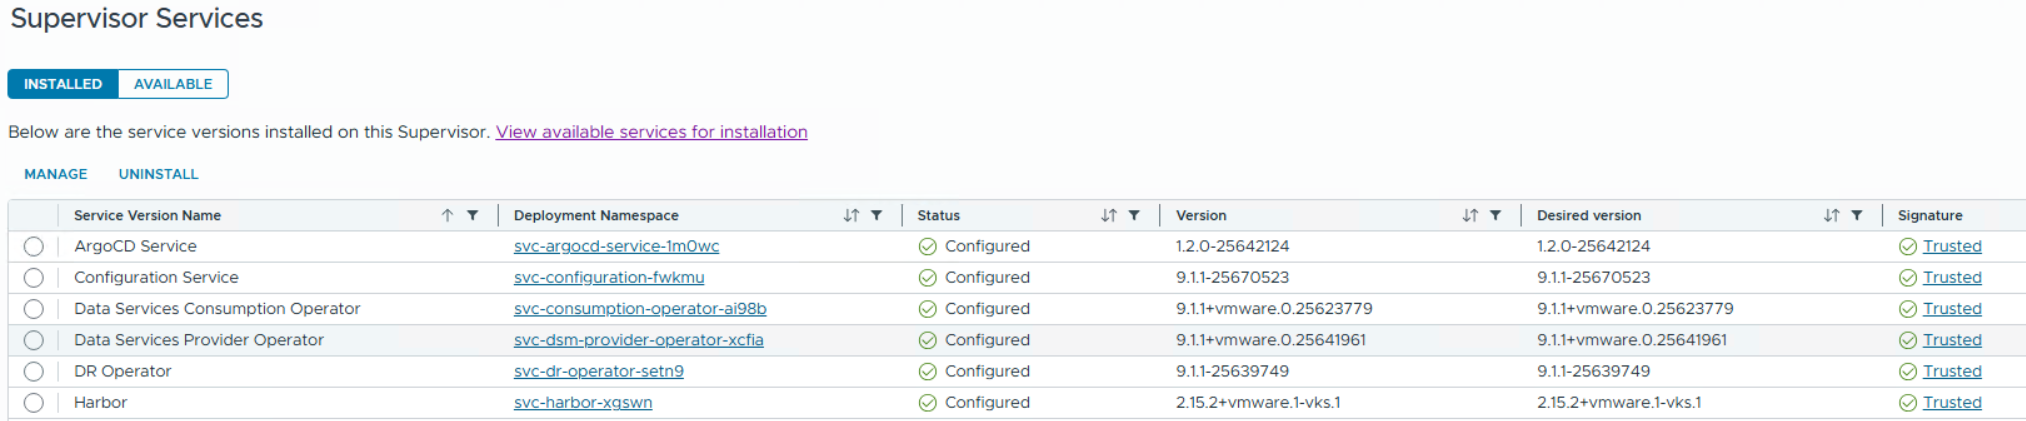
In its associated namespace, you will find the external IP address to access it.
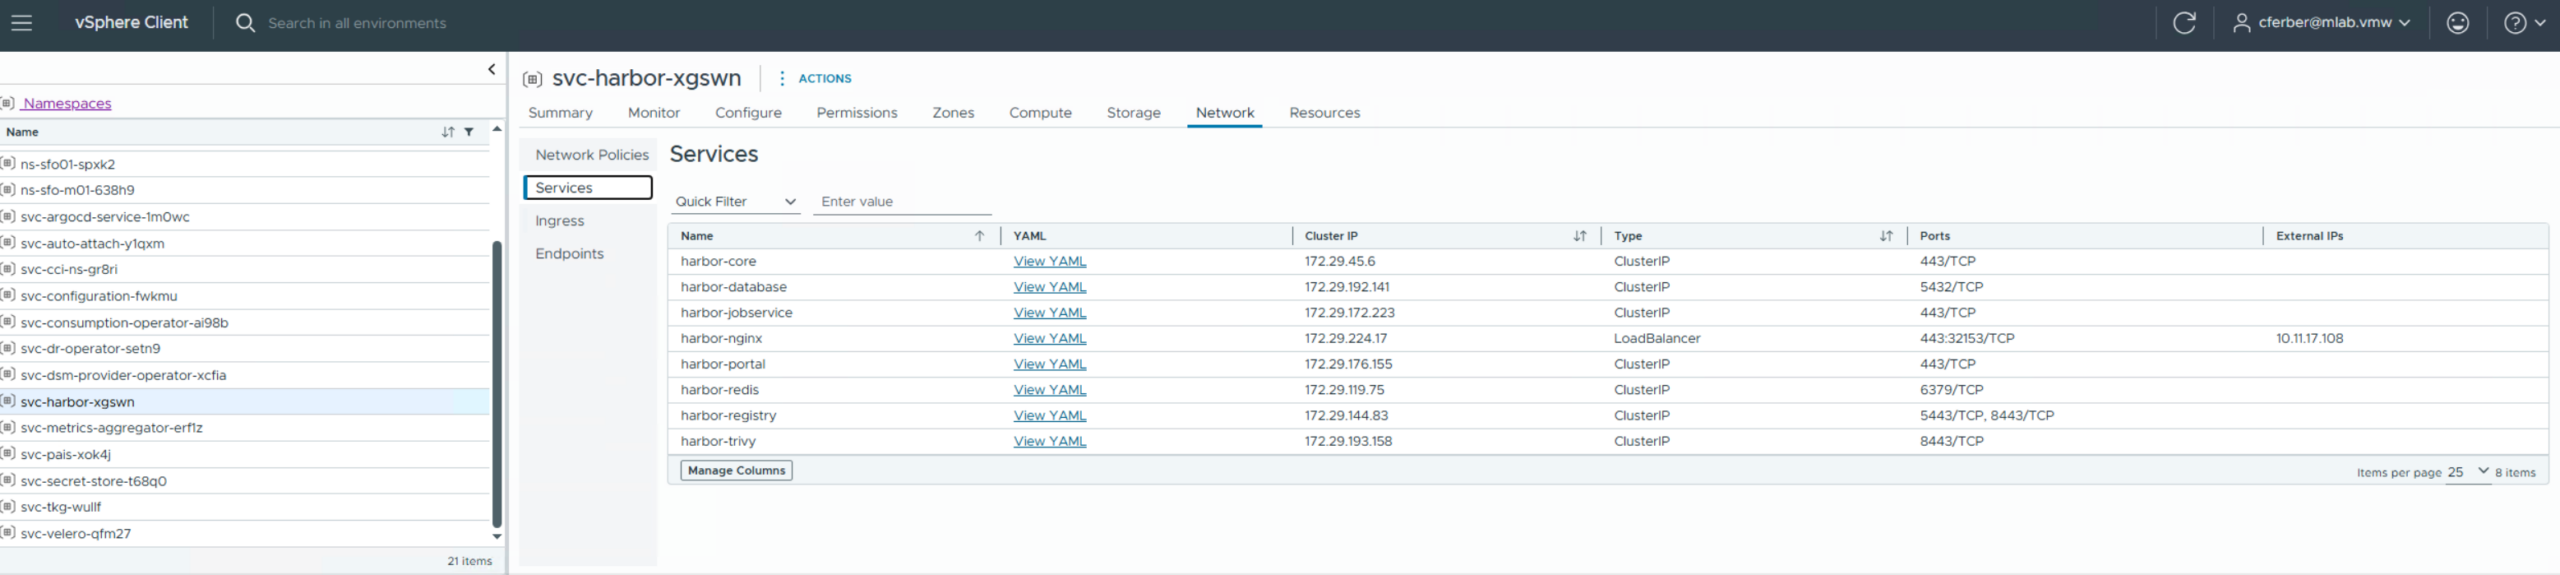
To import images into Harbor, use the vcfcli tool. The tool itself is available for Windows and Linux; however, Linux is noticeably easier to use because a Docker login is required.
For the upload to succeed, log in to Harbor and create a project. We named our repository “models”. For ease of use in a lab environment, you can configure it as public.

Our project with the uploaded models shown.

For the upload to work, you need the root certificate for the Harbor installation. Download it and import it into your Windows or Linux system using the appropriate OS certificate management procedure.
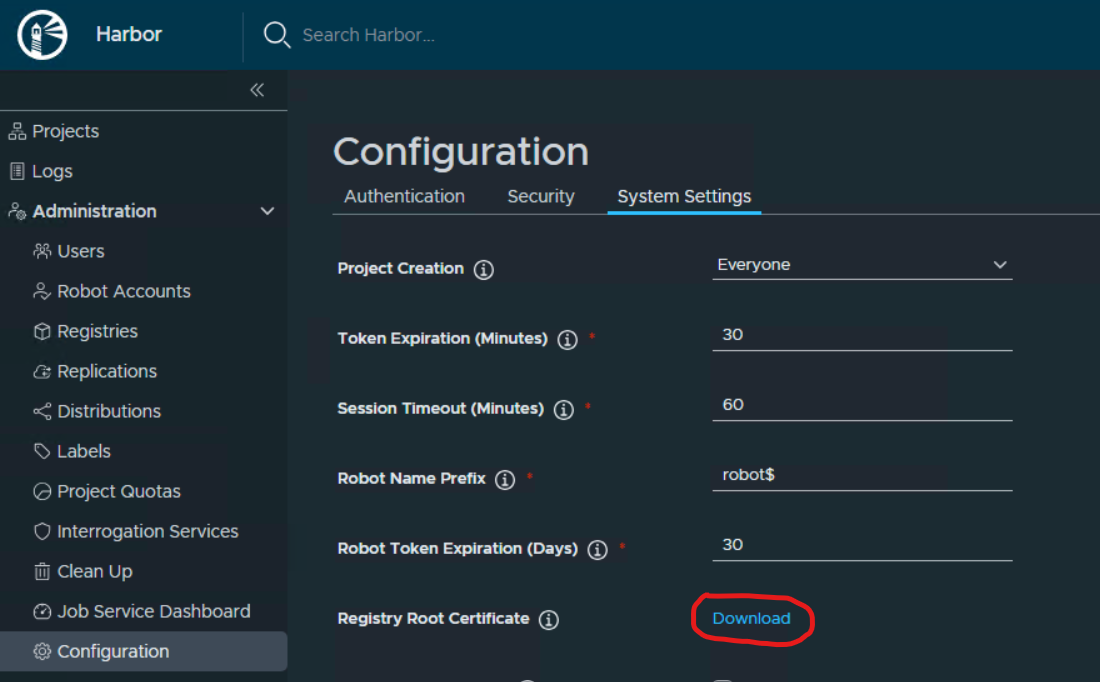
Once the certificate import is complete, log in to Harbor using docker login:
docker login 10.11.17.108:443/models -u admin
After logging in, you can upload your model using vcfcli. (Refer to the official documentation for installation of vcfcli in your environment.)
vcf pais models push –modelName qwen/qwen2.5-1.5b-instruct-gguf –modelStore 10.11.17.108:443/models -t v1.0
Now you are ready to deploy your first model endpoint on PAIS.
VCF Automation configuration
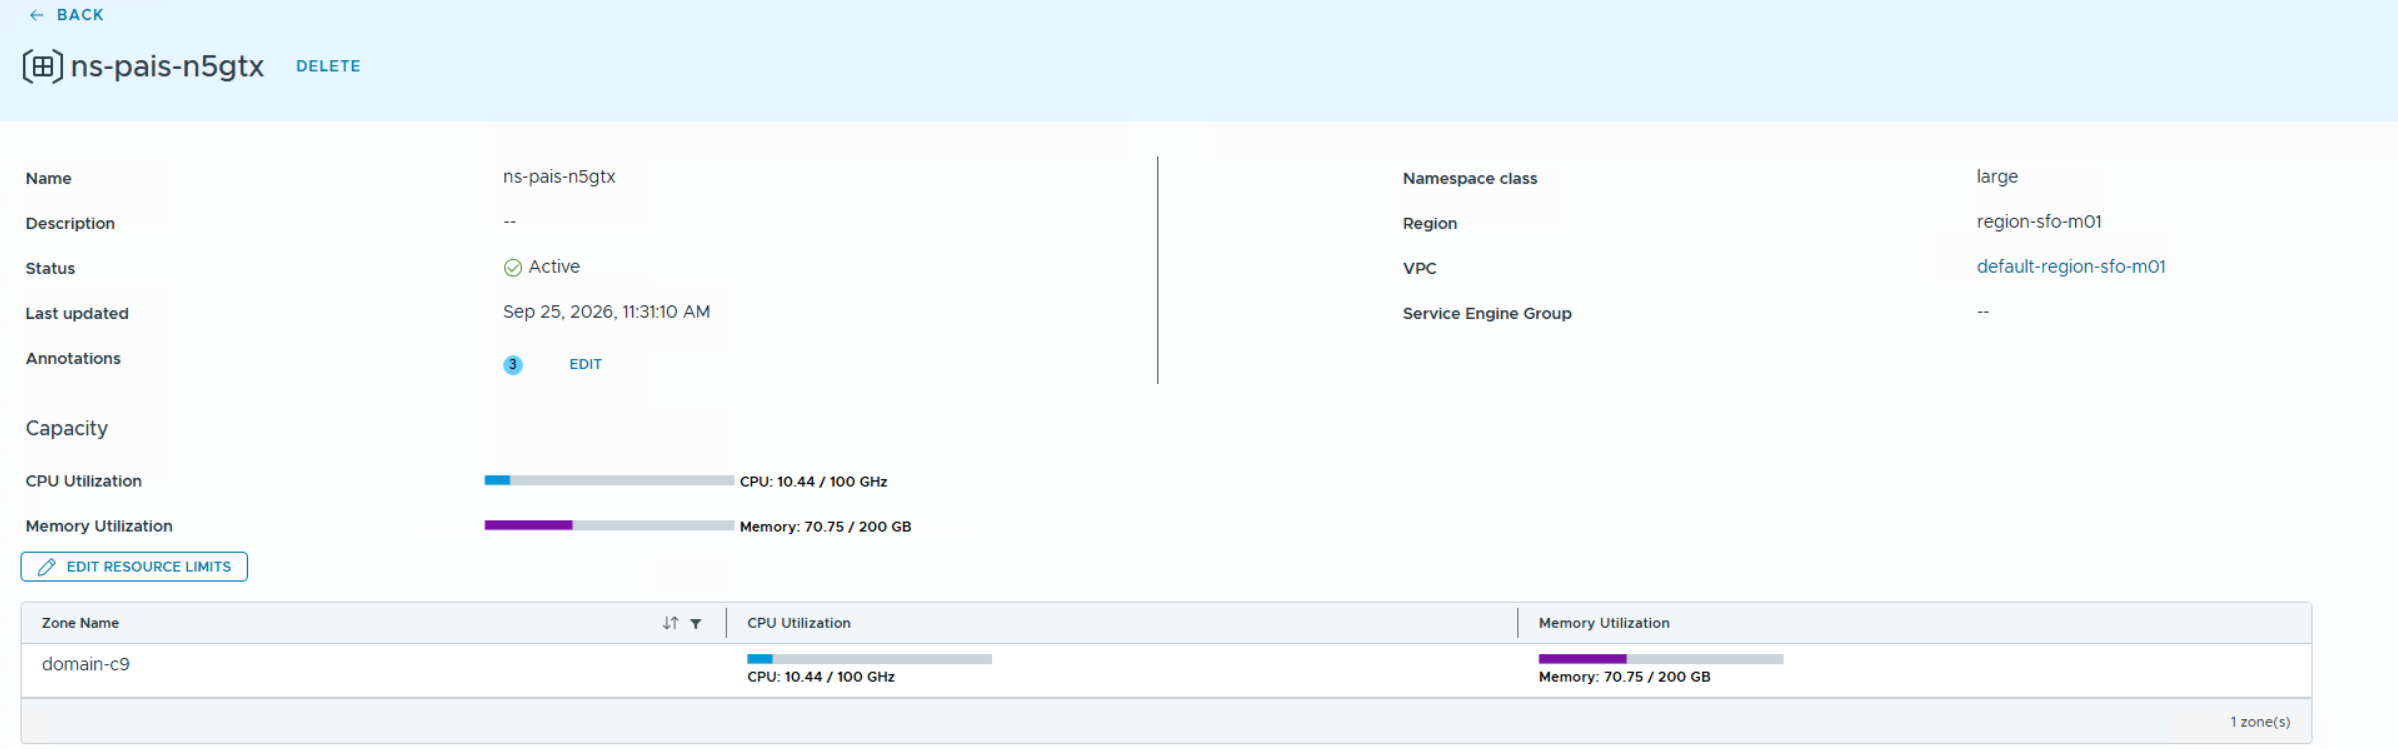
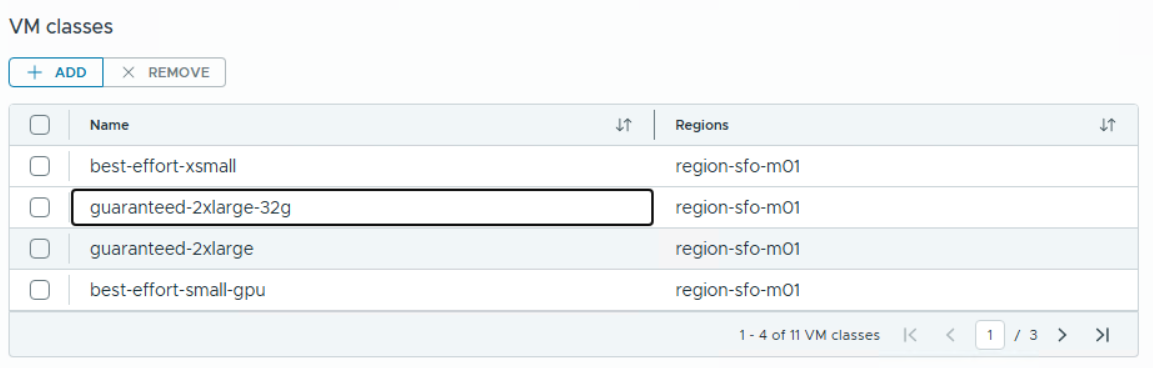
In VCF Automation, you need a namespace with enough resources to host your VKS cluster and the associated LLMs. I recommend not being too restrictive with the resources assigned to this namespace, as you will encounter provisioning errors if the Kubernetes nodes cannot be scheduled. Keep in mind that each imported language model requires an additional node matching the size of your selected VM class. Below is the configuration we used, which comfortably supports two deployed models. Just make sure the previously created VM class is assigned here as well.
Create your PAIS Service
Once all previous steps are completed, you will see a new section under Build & Deploy in your namespace called “Private AI”. When you start creating your service, the first choice is whether to deploy Full Capabilities or Model Runtime Only. To explore all features, we chose the full mode, which also requires a PostgreSQL database for storing vector embeddings.
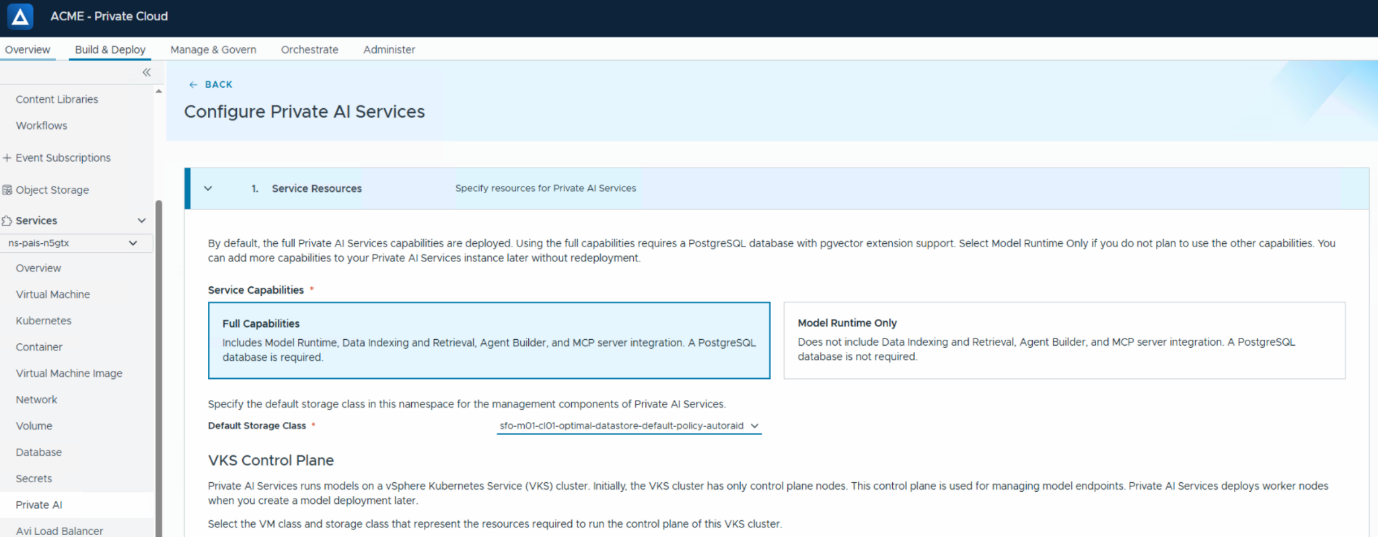
Select the storage class to be used for the PAIS management components.
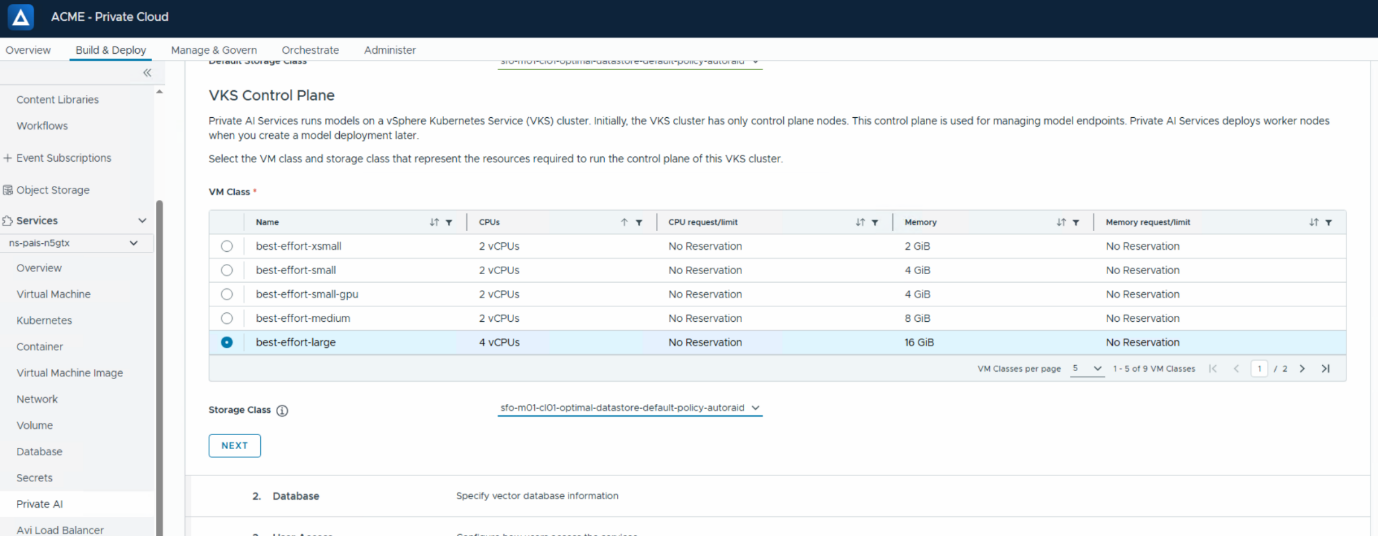
Select the VM class and Storage Class for the VKS control plane.
In our environment, we used VMware Data Services Manager to provision databases, which is why the PostgreSQL database appears automatically in the dropdown menu. If you are using a manually installed PostgreSQL database, you will need to provide the connection credentials here.

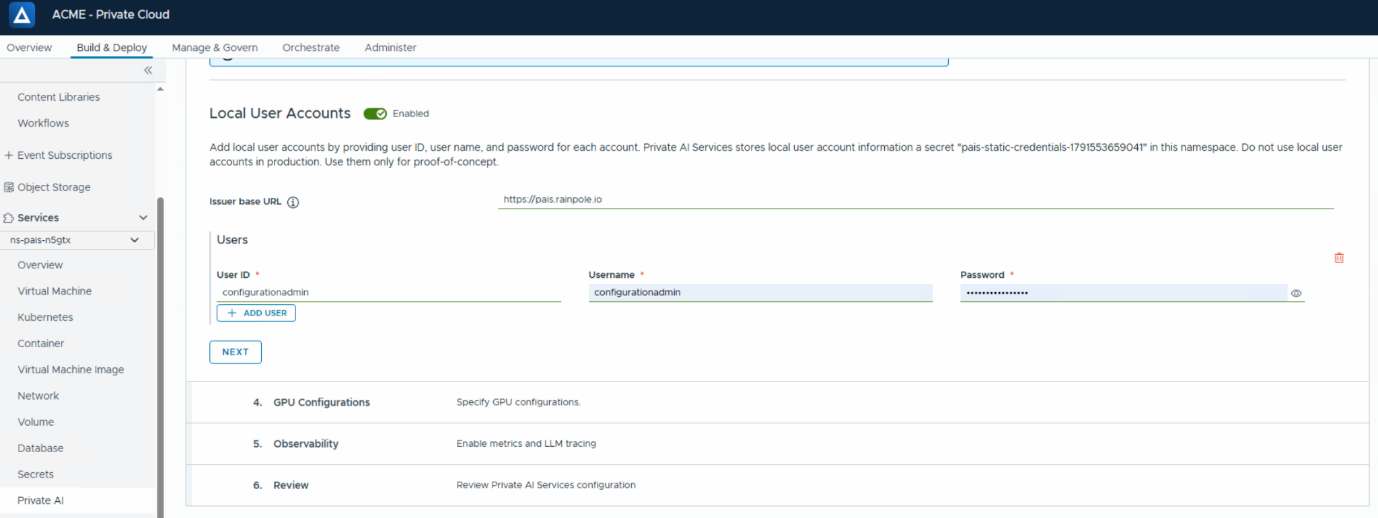
To access the PAIS portal, you need a DNS name that resolves to the IP address assigned to the service later. Ensure you have access to your DNS server to create an A record for the FQDN you specify here. Direct IP access to the portal will not work.
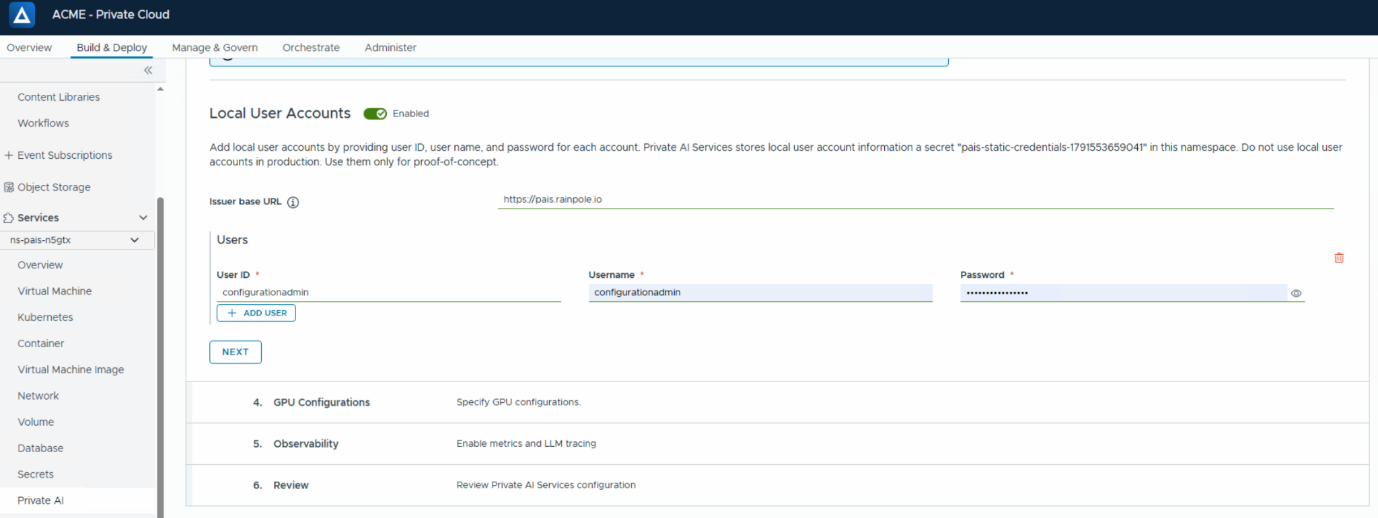
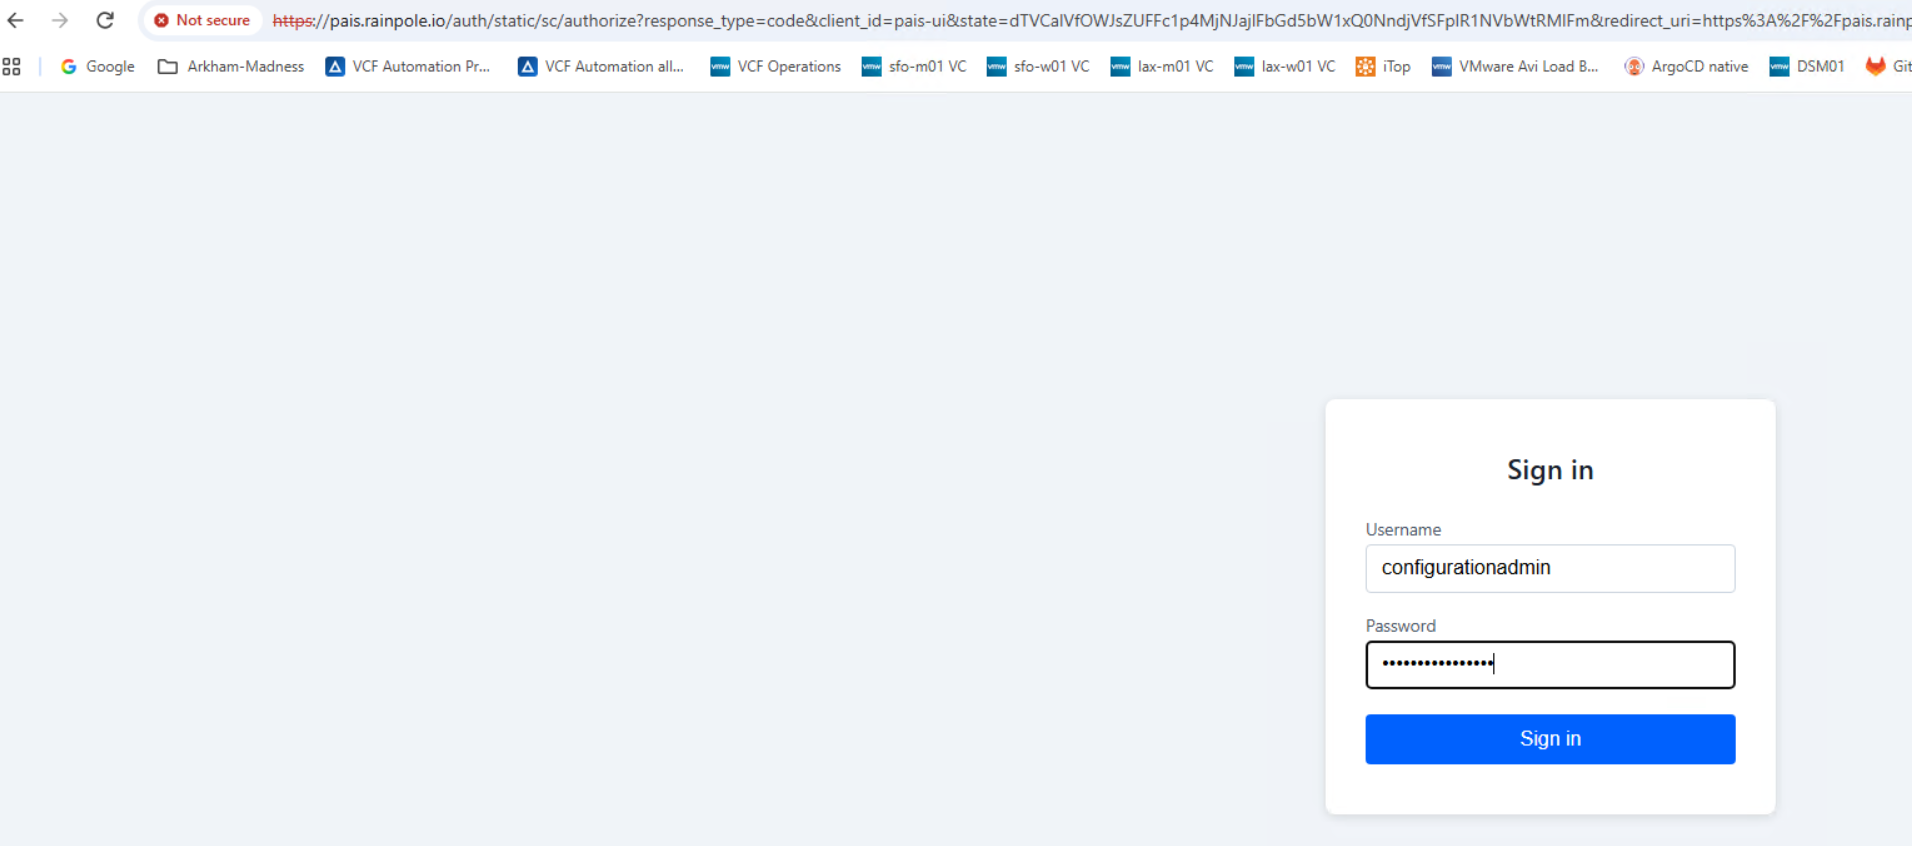
PAIS supports OIDC authentication. We started with a local “configurationadmin” account, as OIDC can easily be configured at a later step.
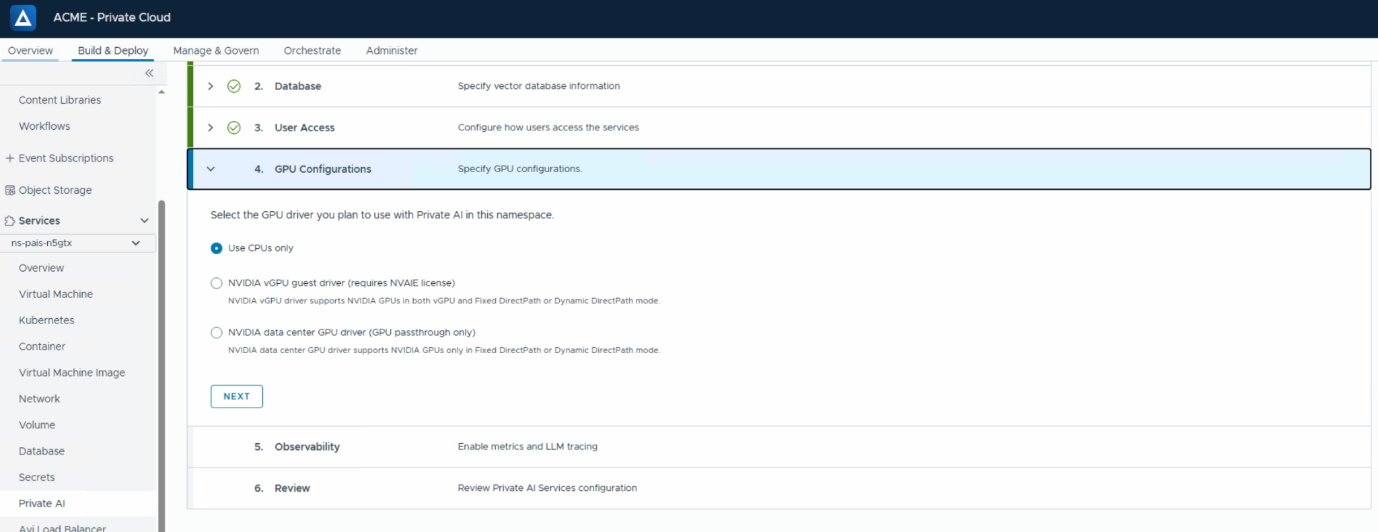
Select “Use CPUs only” if you do not have dedicated GPUs available.
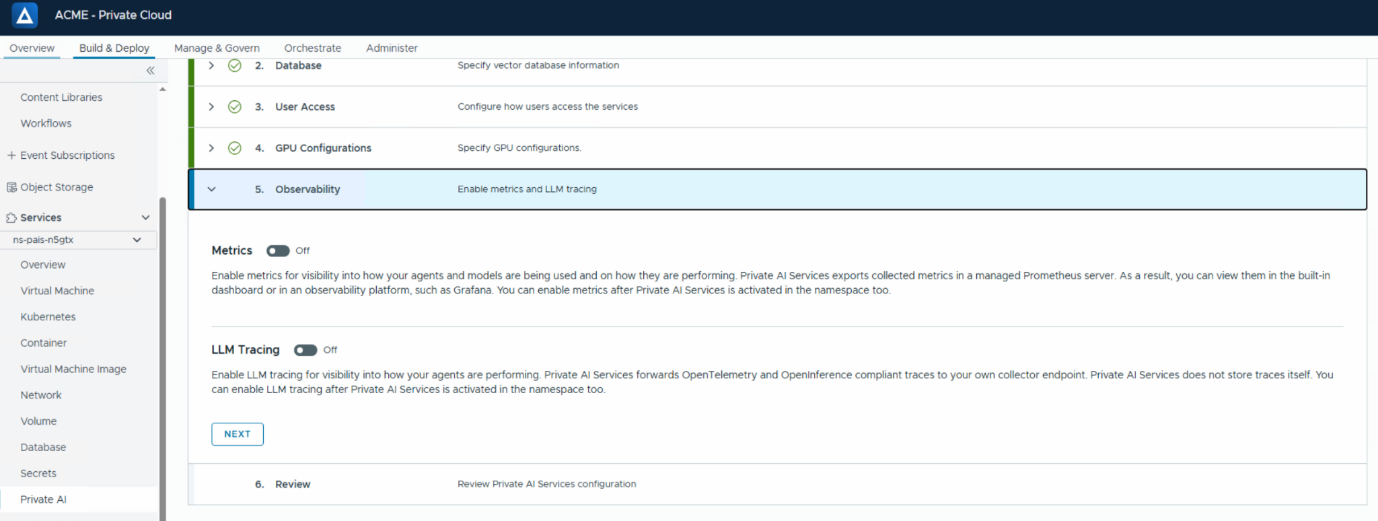
Monitoring and LLM tracing can be left disabled initially and configured post-deployment.
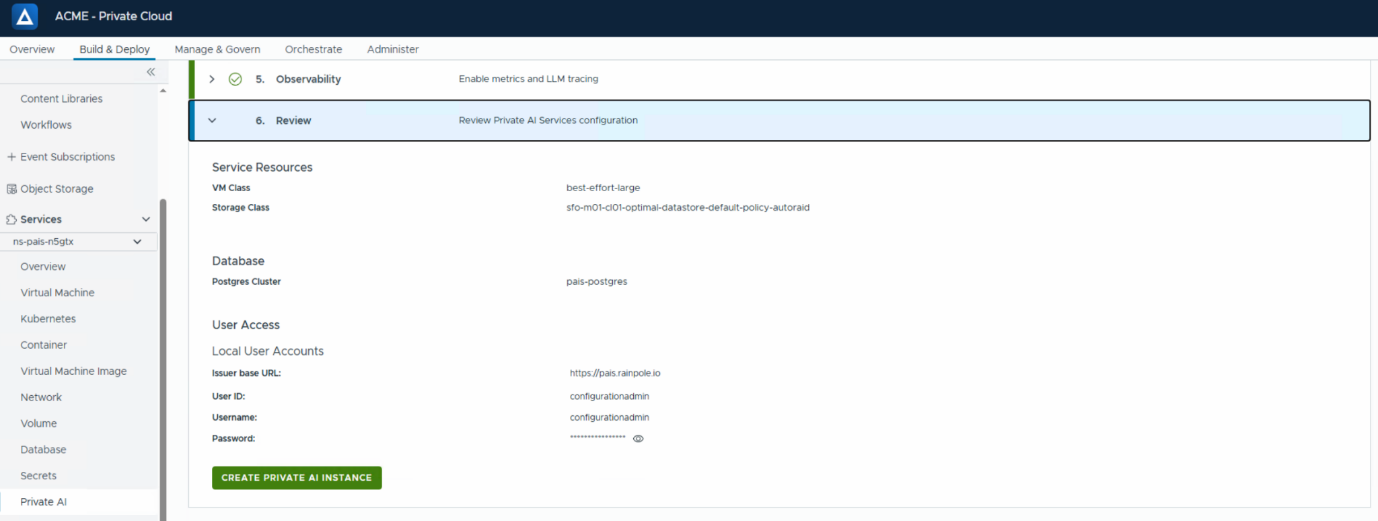
Create your Private AI instance.
PAIS model endpoint deployment
To deploy your model endpoint, navigate to the Private AI service and click “New Model Endpoint”. A model endpoint basically is a Kubernetes node which hosts the model binaries and exposes them through API.
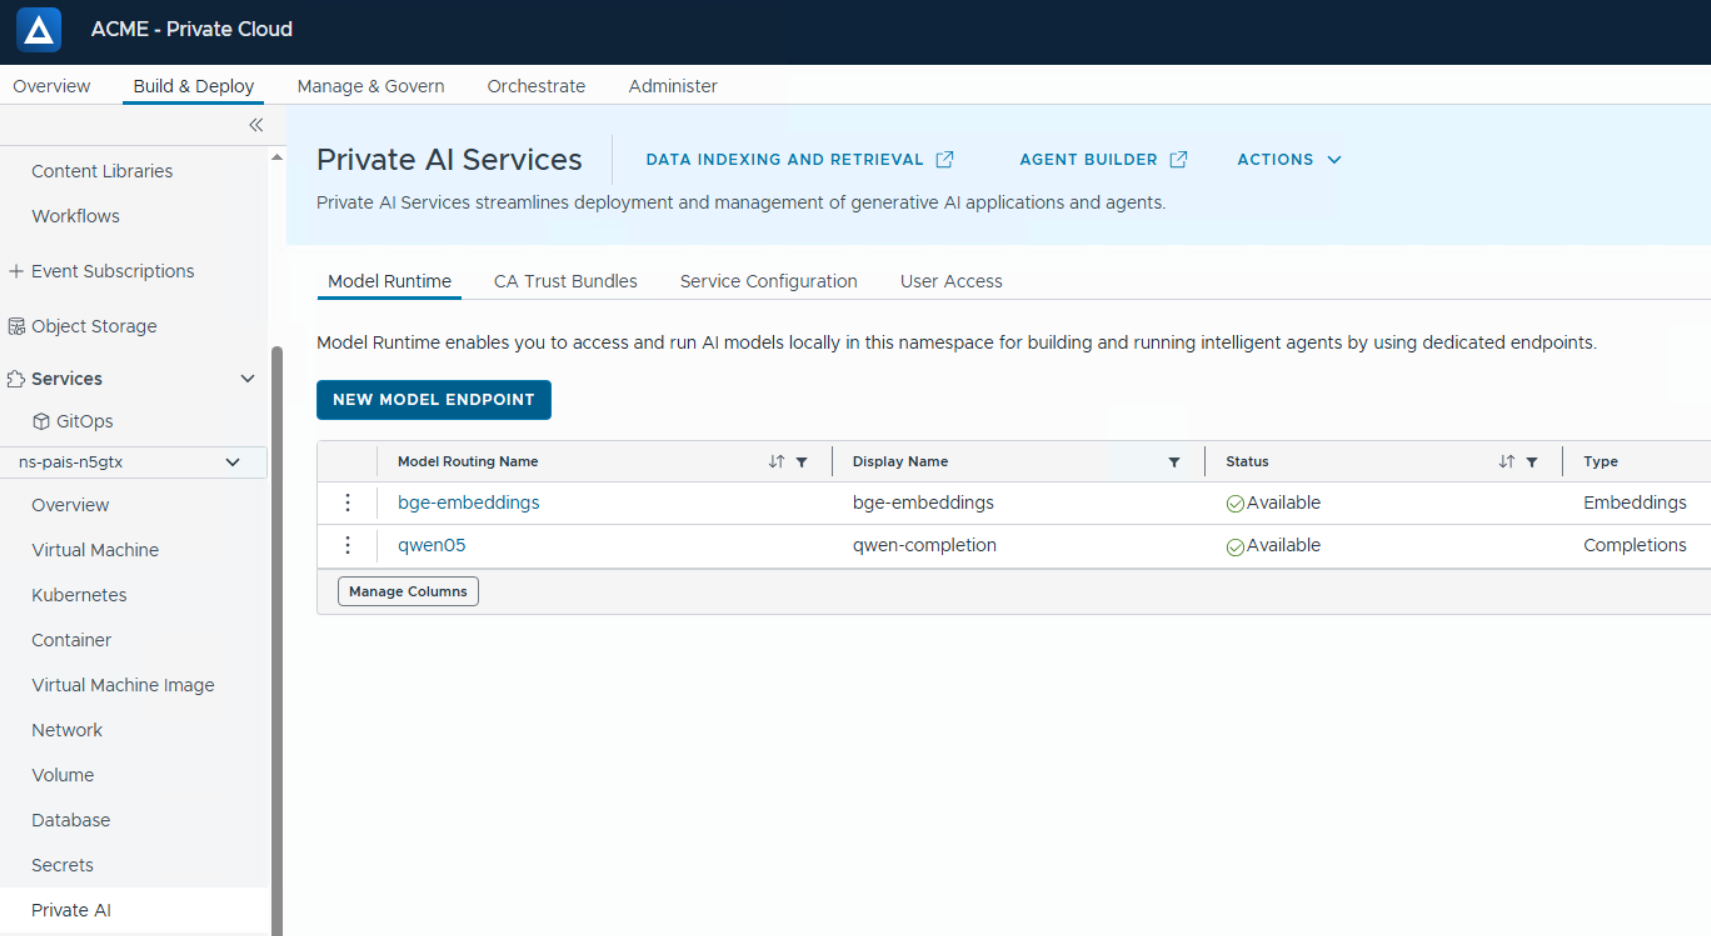
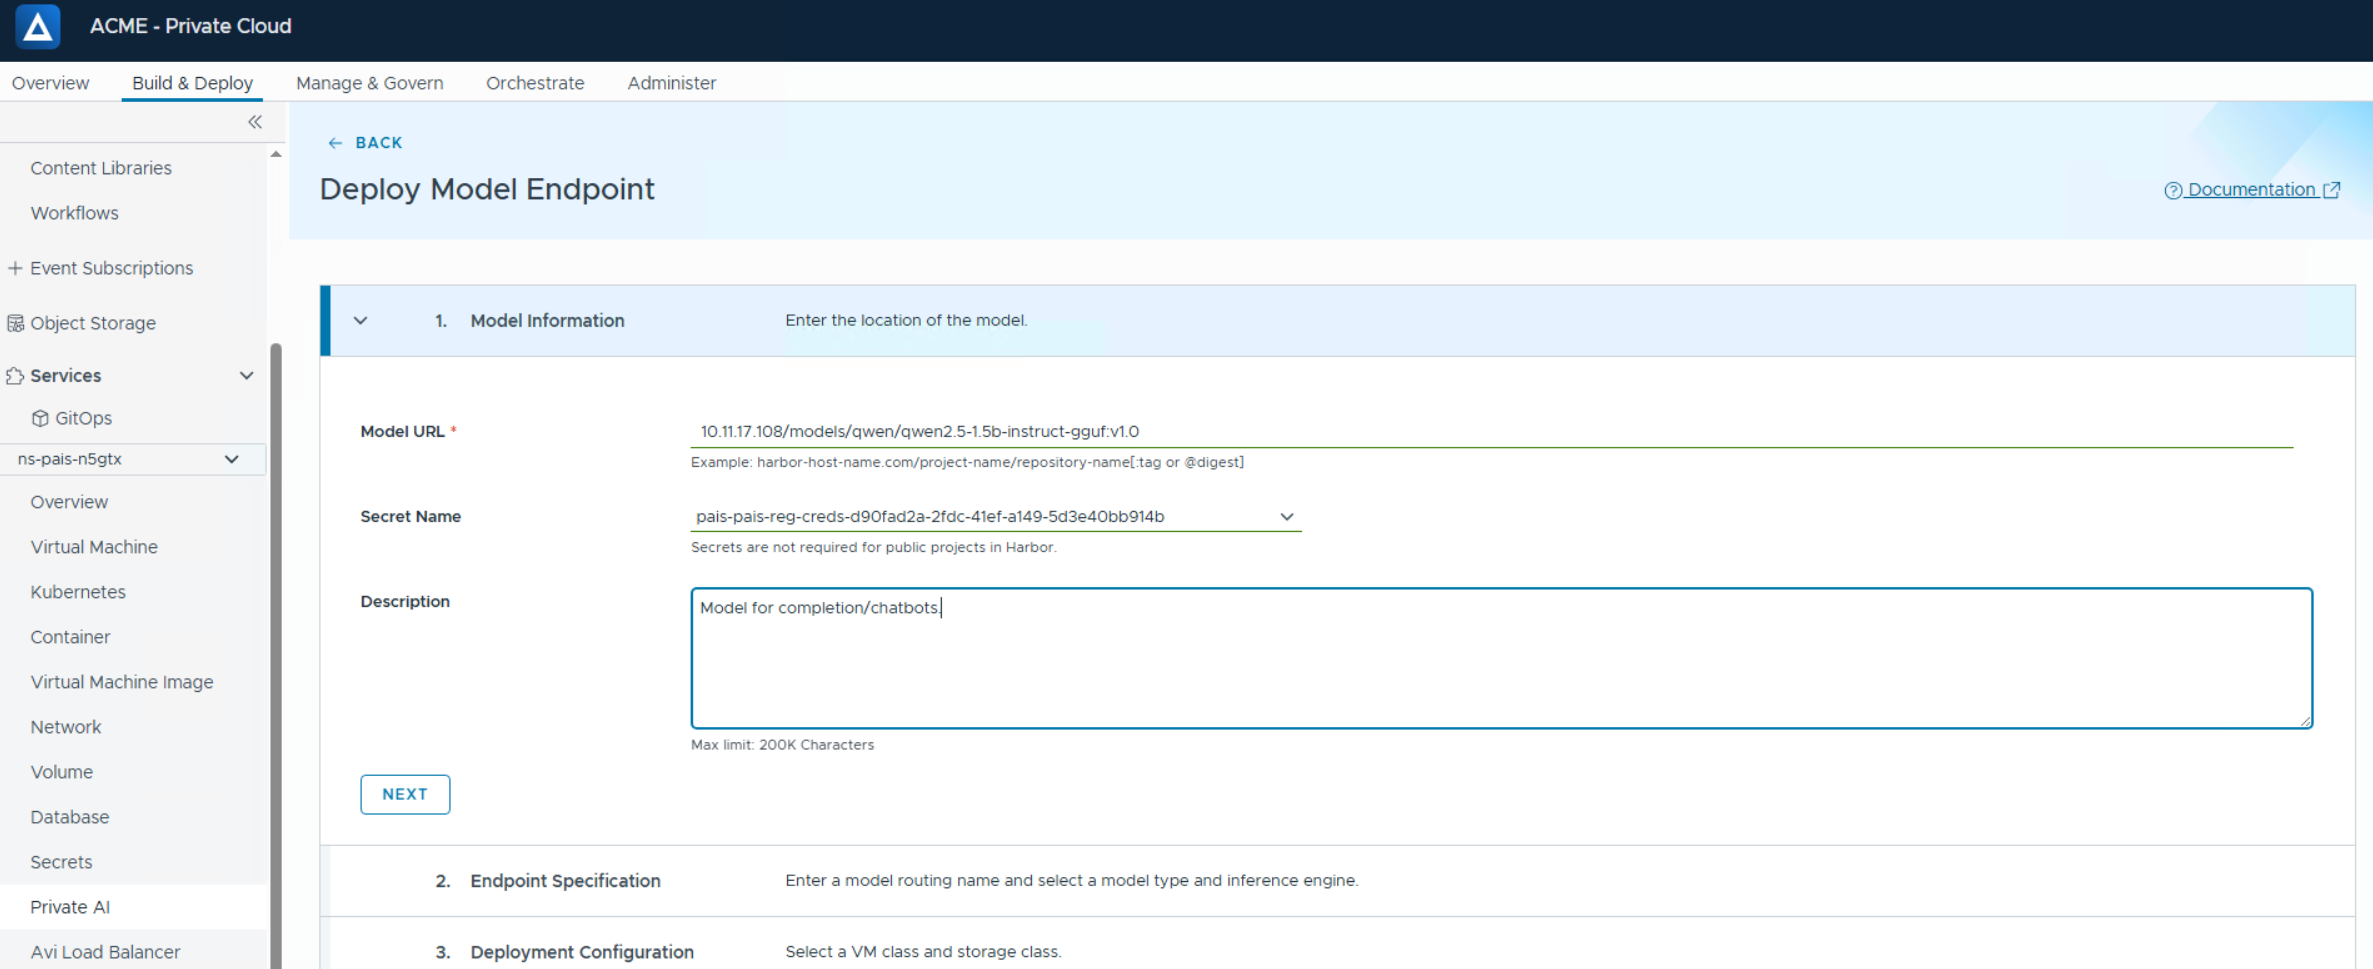
Provide the correct model URL—don’t forget to include the tag suffix at the end. Select the default secret name and proceed to the next step.
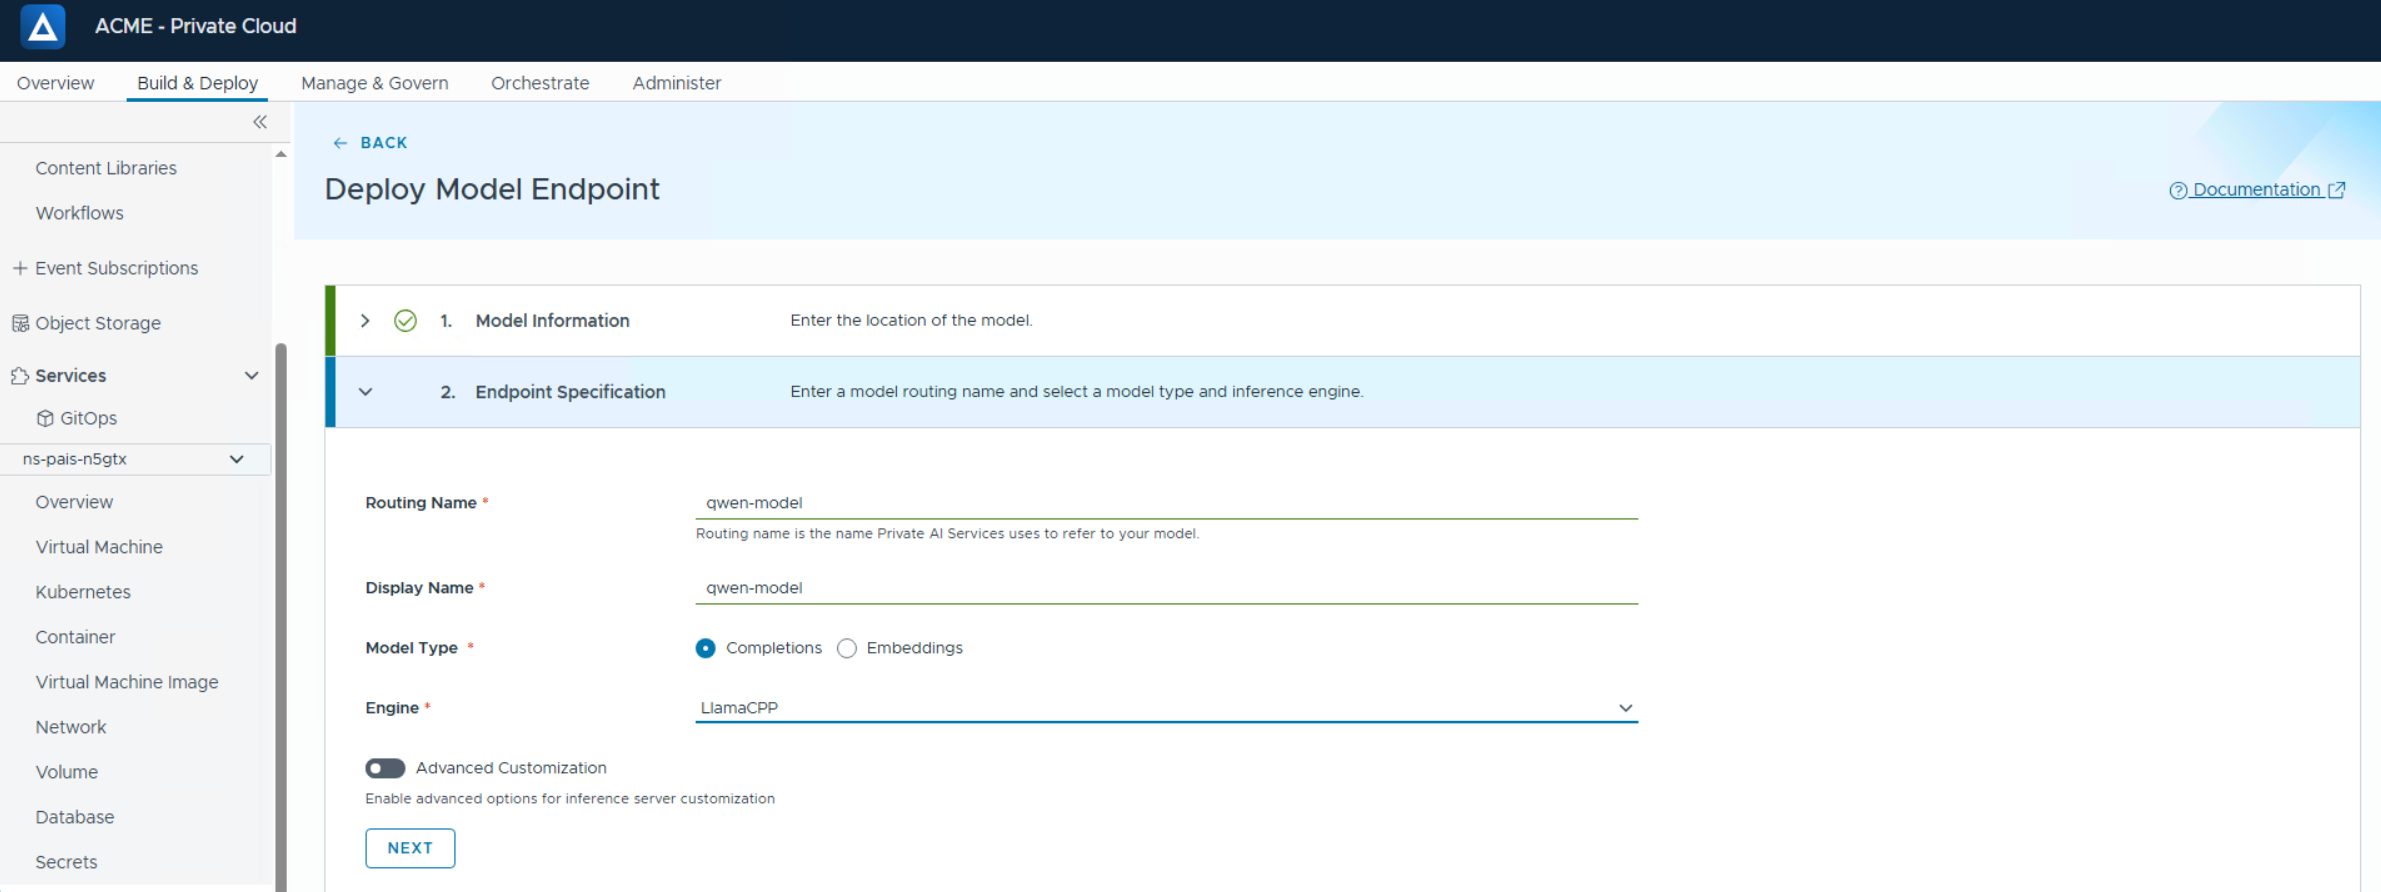
Define the model name that will be displayed later when using it. You must also designate whether it is a completion or embeddings model (see the explanation in earlier sections). This is also where you select the inference engine: for CPU-based completion models, LlamaCPP is the engine of choice.
Select the VM class for the deployed Kubernetes node. Ensure you select an appropriate size for your model, or the deployment will fail. In this case, we select the VM class created earlier for this purpose. You can also specify the number of instances and storage class.

Review the configuration summary and finish endpoint creation.
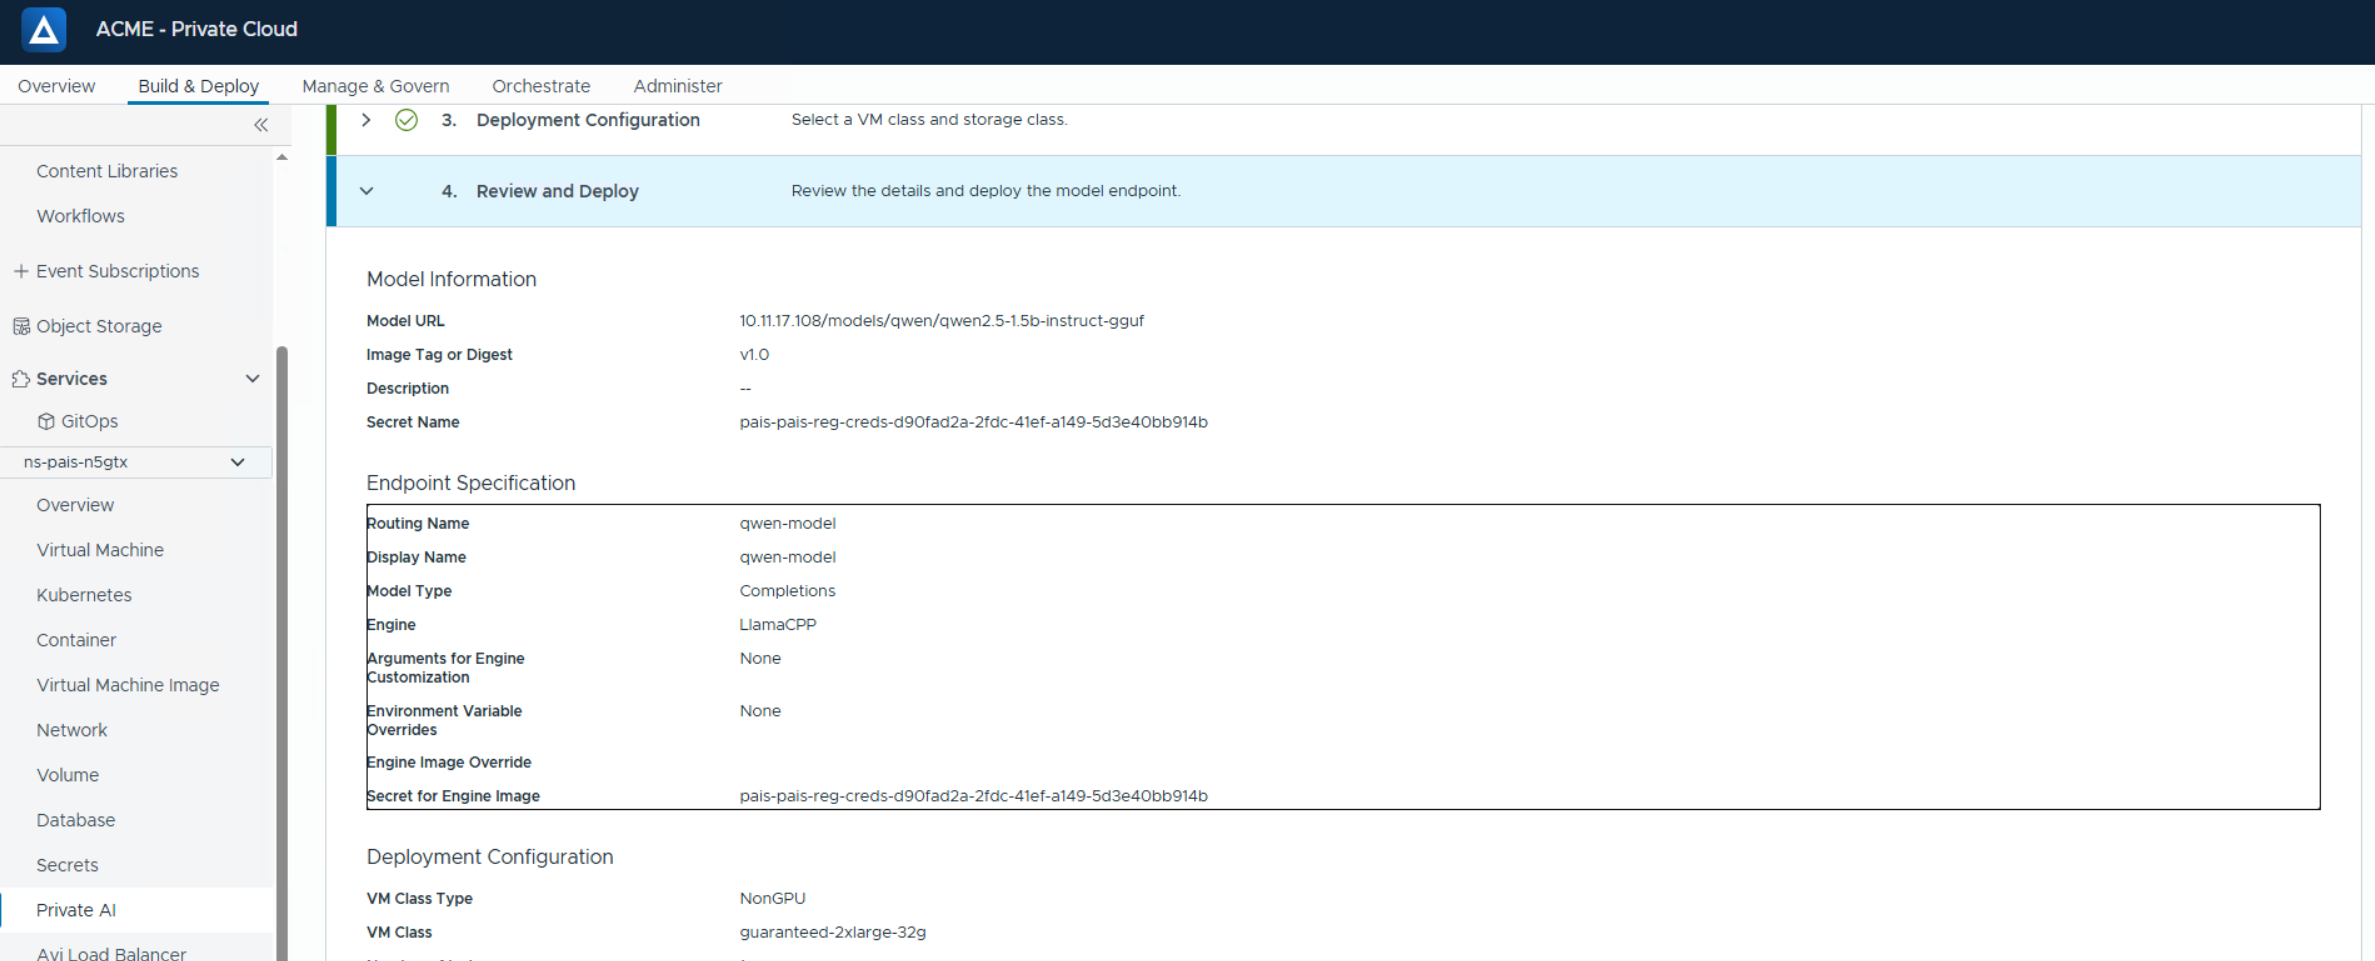
Use the model
Now you are almost there! The model has been deployed and PAIS is properly set up. Finally, verify that the FQDN you defined resolves to the PAIS ingress IP. To retrieve the IP, go to the Supervisor PAIS service in your namespace and look for the IP assigned to pais-ingress-default. Create your DNS A record accordingly.

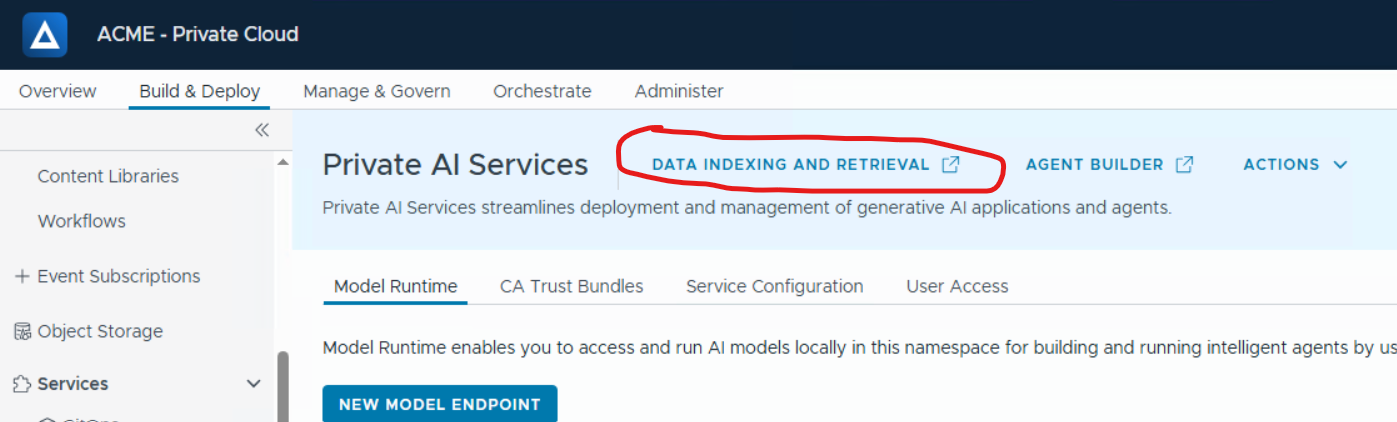
The links at the top of your Private AI Services page redirect to the FQDN you configured earlier.
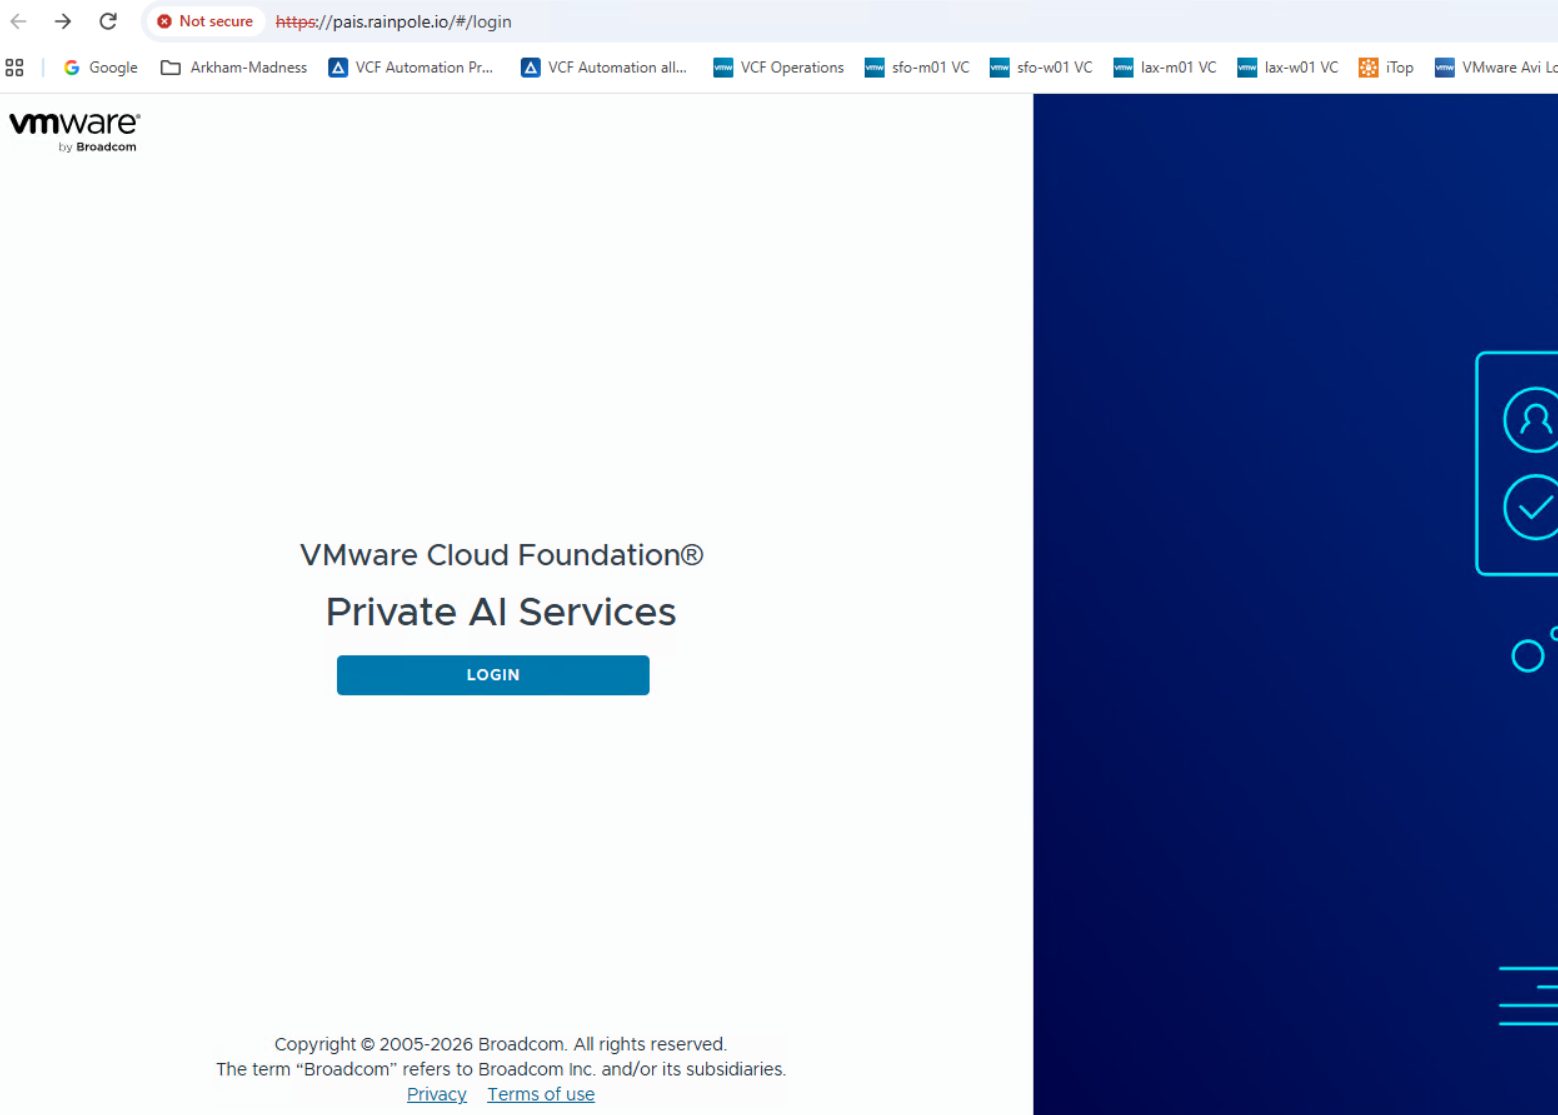
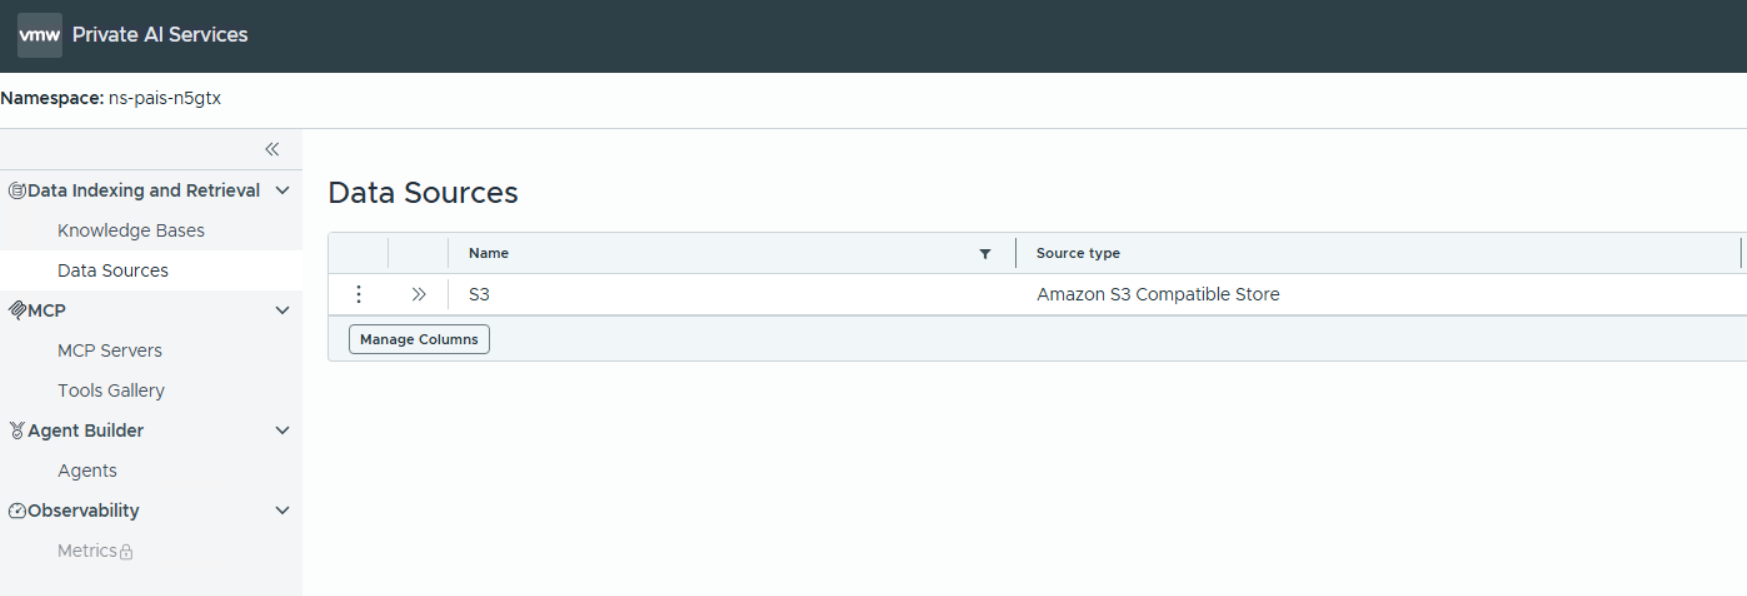
Once there, you will see the PAIS sign-in page, where you can log in using your local credentials.
Create a chatbot agent
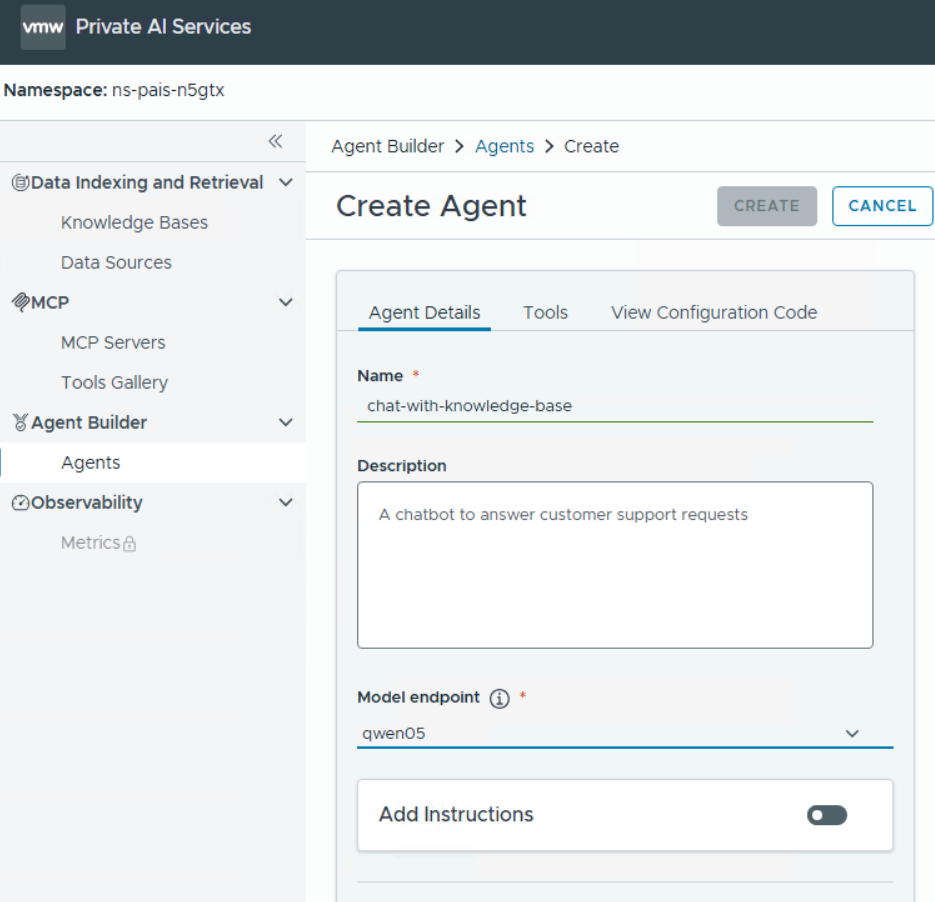
As your first use case, you may want to create a chatbot agent. Go to the Agents menu and select “Create Agent”.
Enter a name (and an optional description) and select your model endpoint. Notice that only completion models will appear in this dropdown.
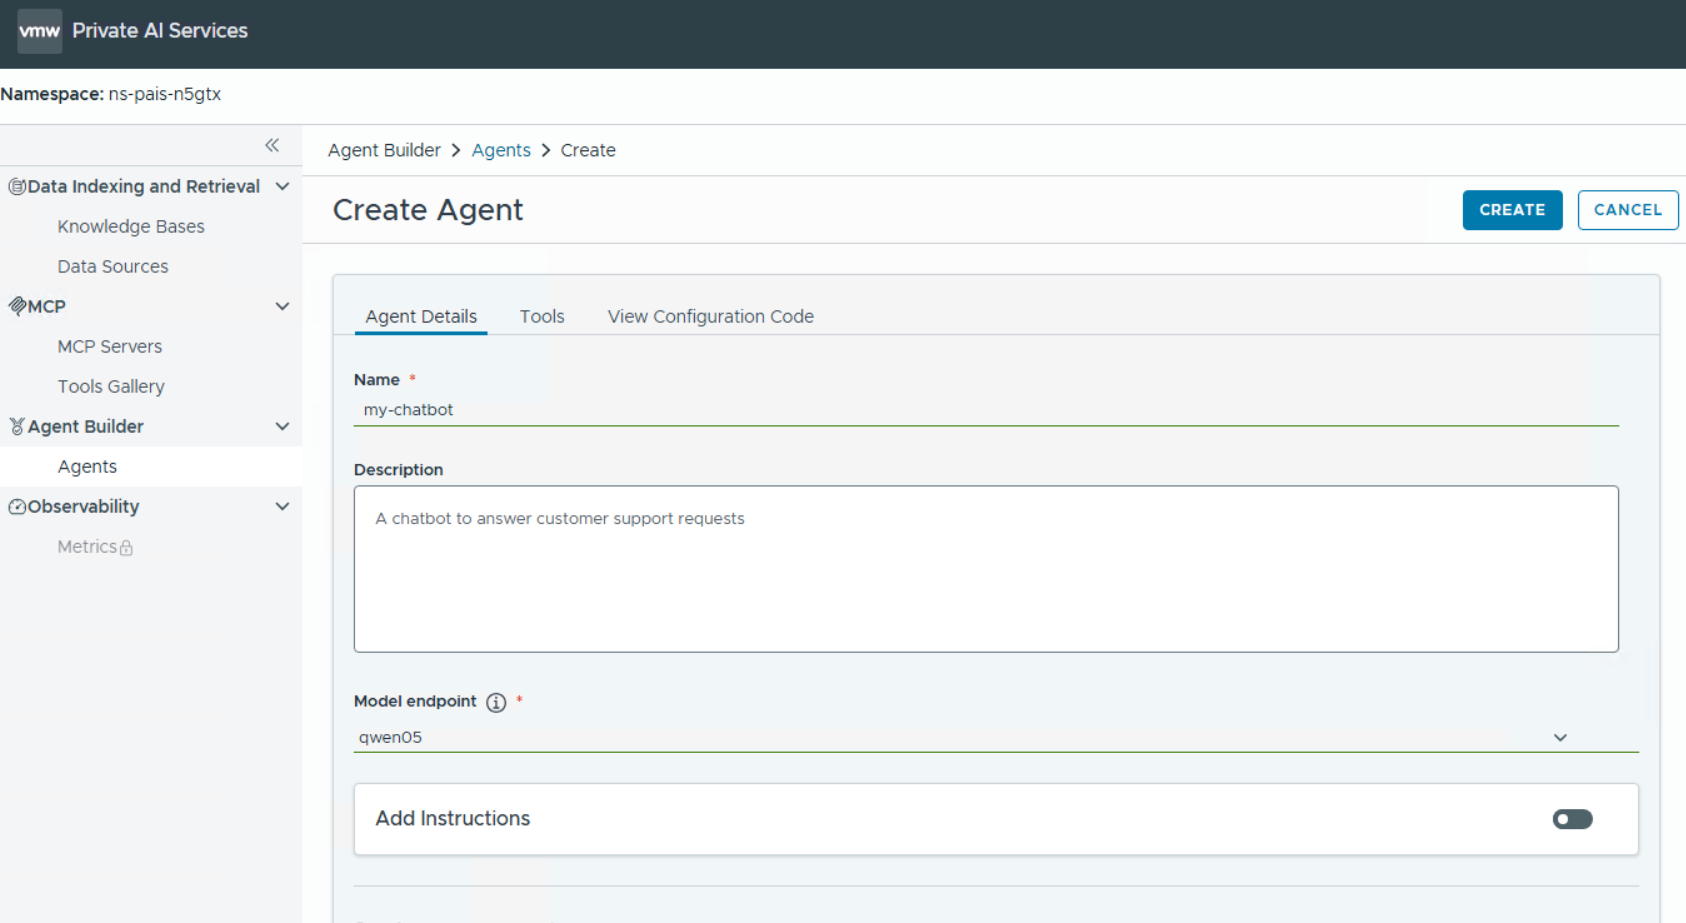
Several other parameters are available as well; as a mandatory parameter, specify the chat history max length.

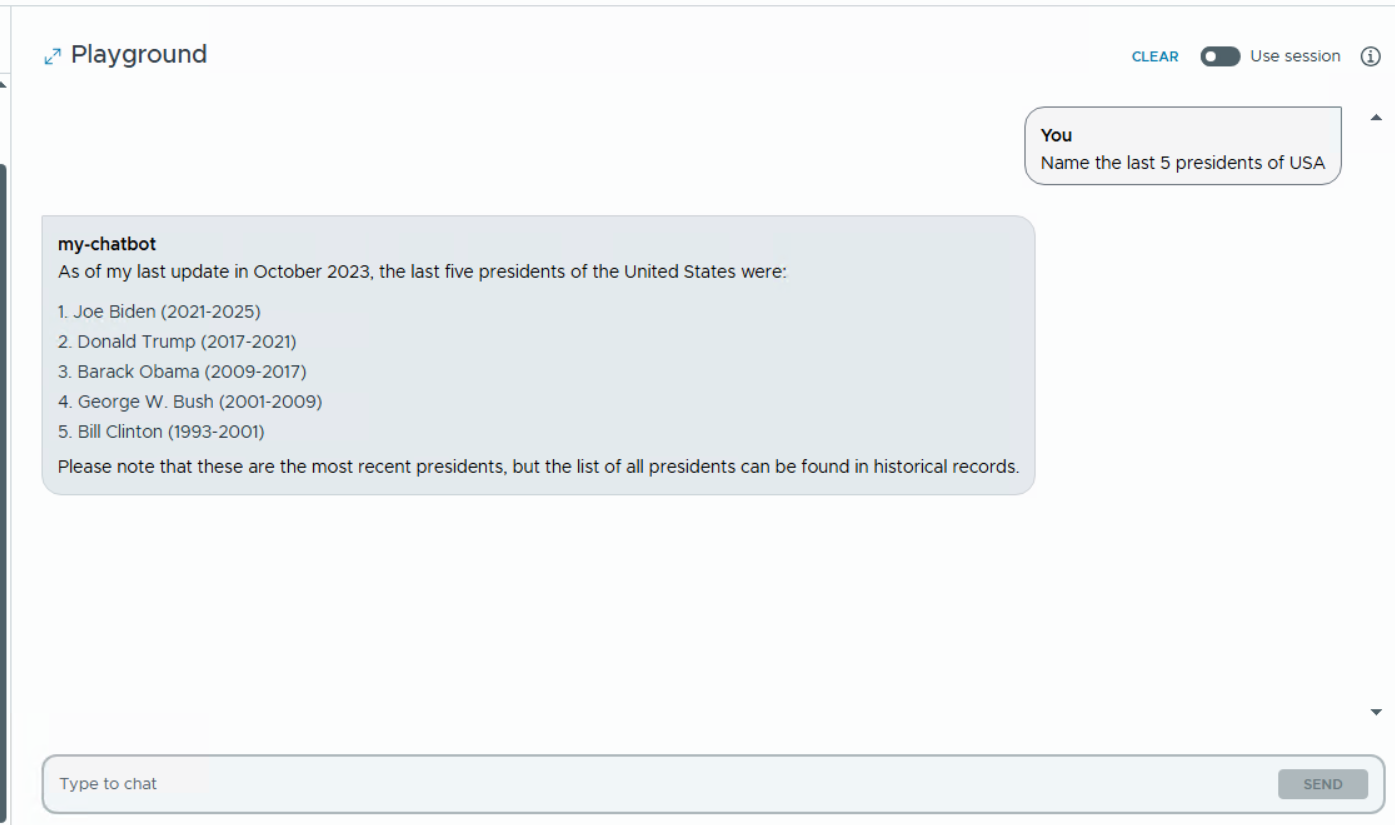
Create your agent and test it in the Playground.
Use internal documents for a chatbot
In many scenarios, you will want your chatbot to leverage proprietary internal data. This requires combining a completion model with an embeddings model. If you want to follow this path, make sure you have configured an embeddings model endpoint in addition to your completions model.
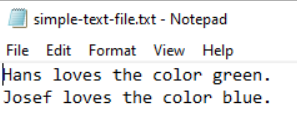
For a very simple test case, we created a plain text file containing two entries.
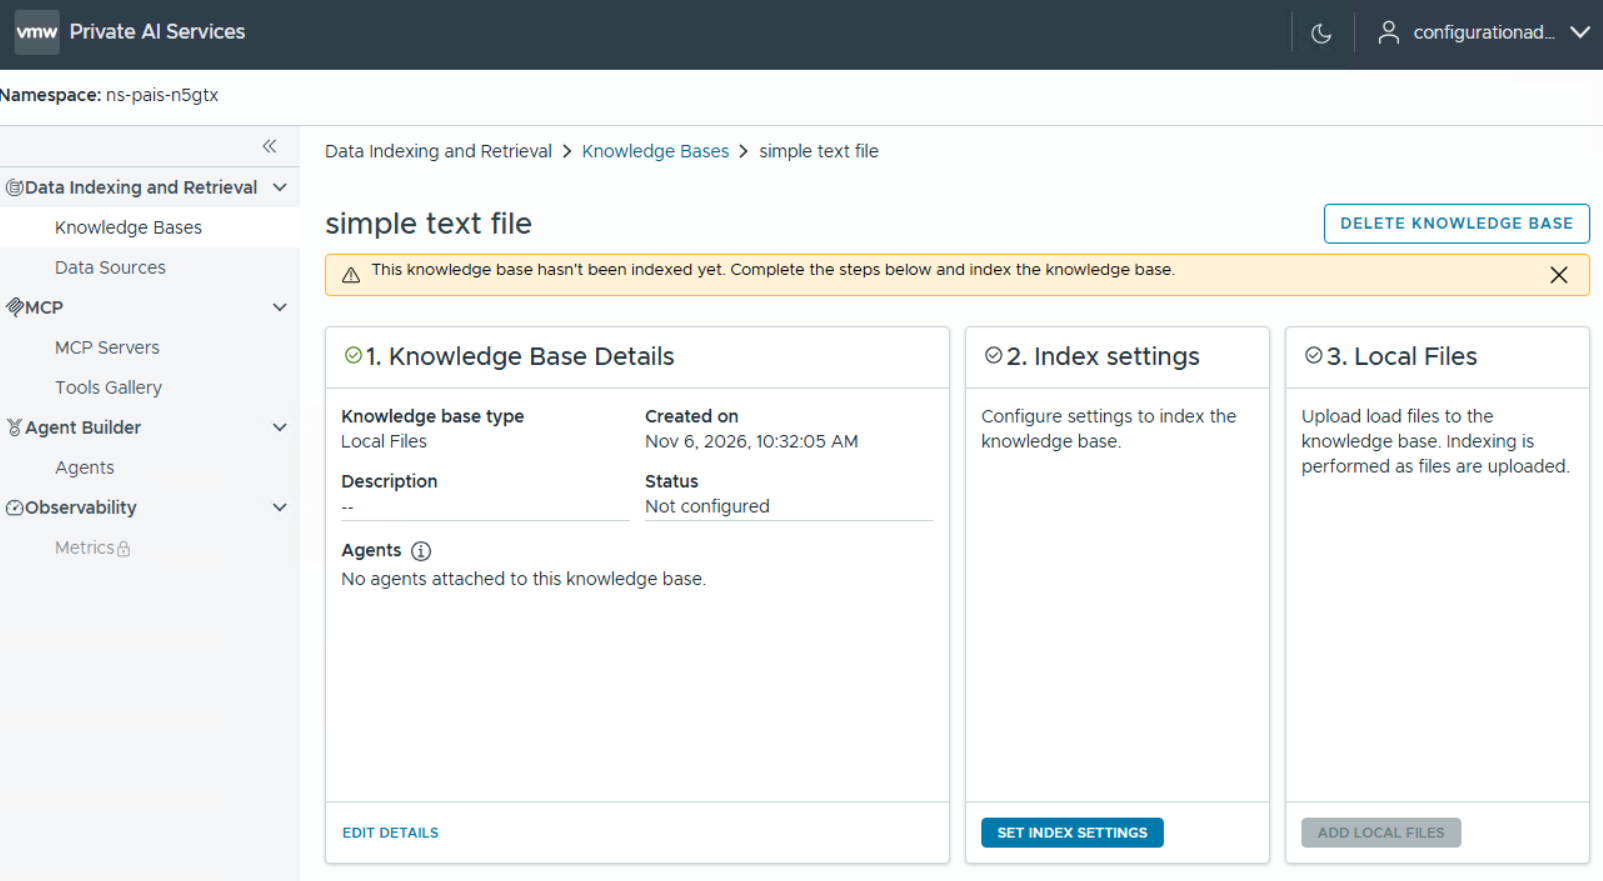
First, create a knowledge base.
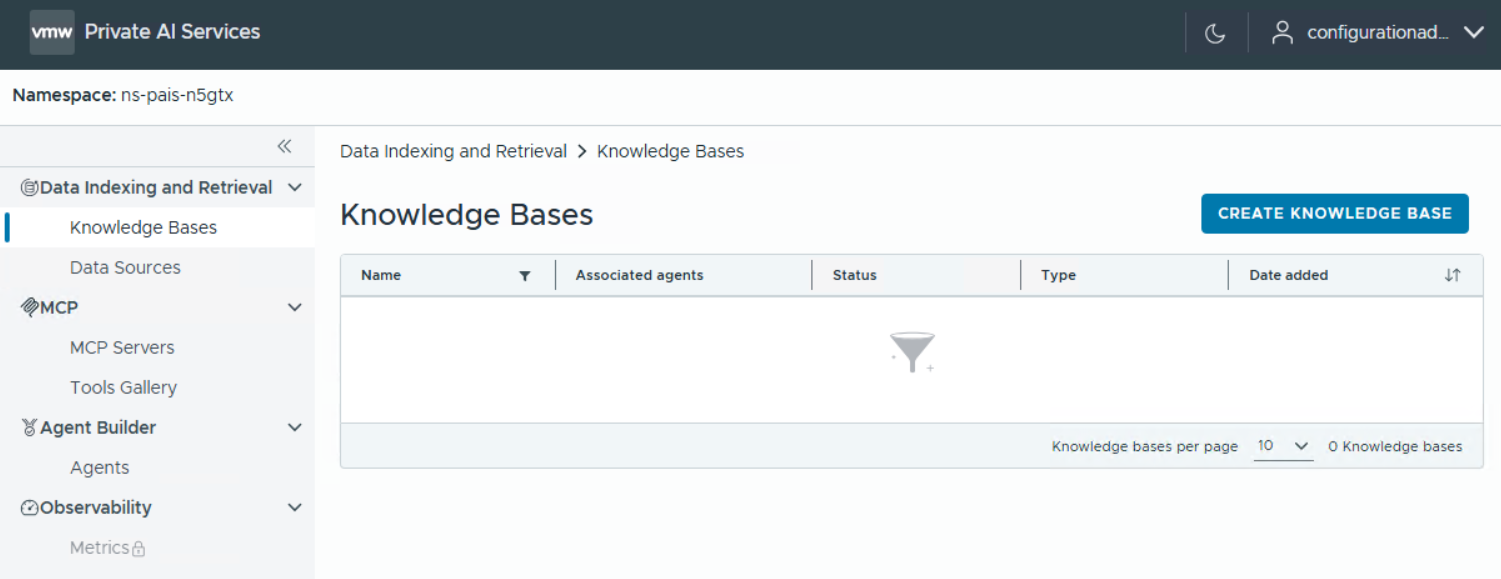

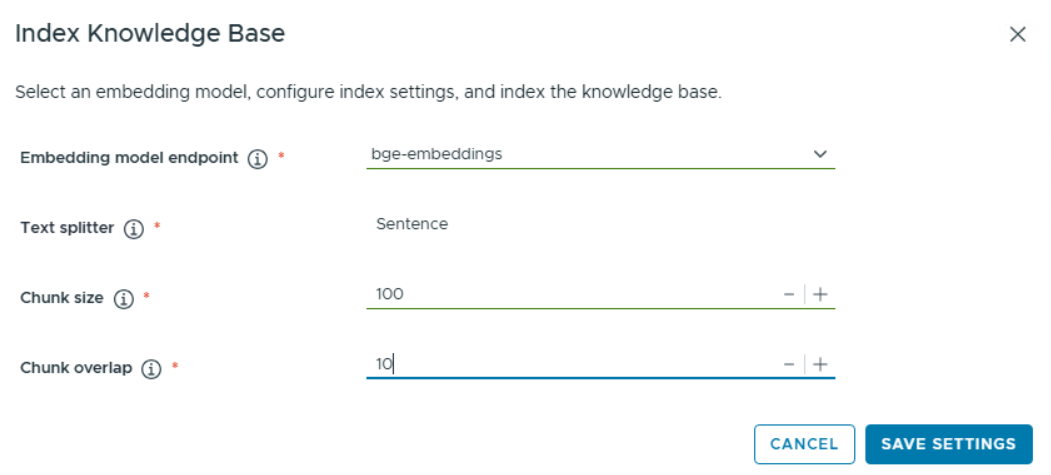
Index the model by selecting the embeddings endpoint, chunk size, and chunk overlap (you can tune these values depending on the documents you use).
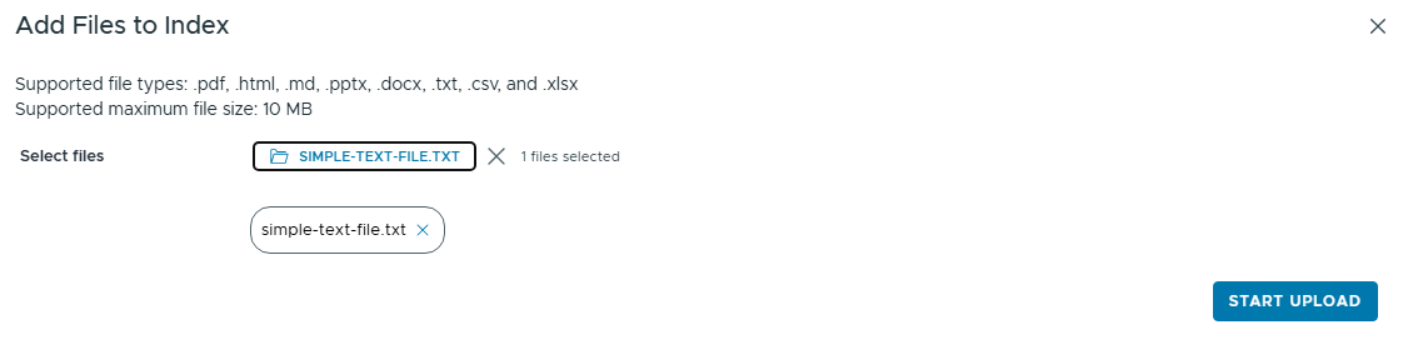
Upload the file to be indexed.
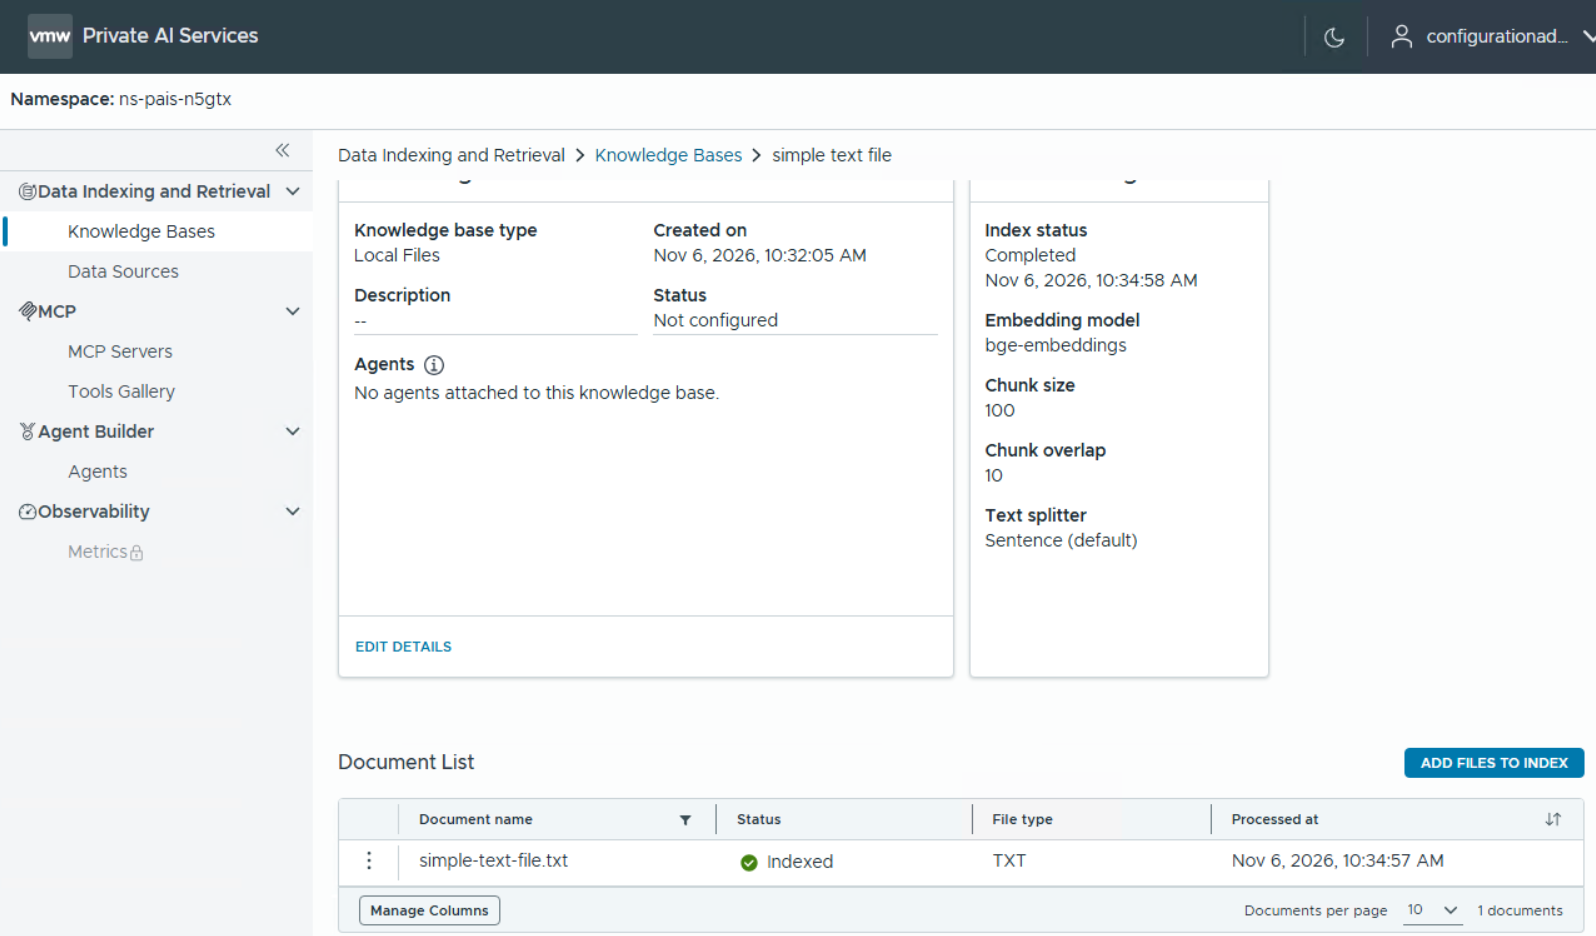
Close the upload window once complete and wait for the status to show as “Indexed”.
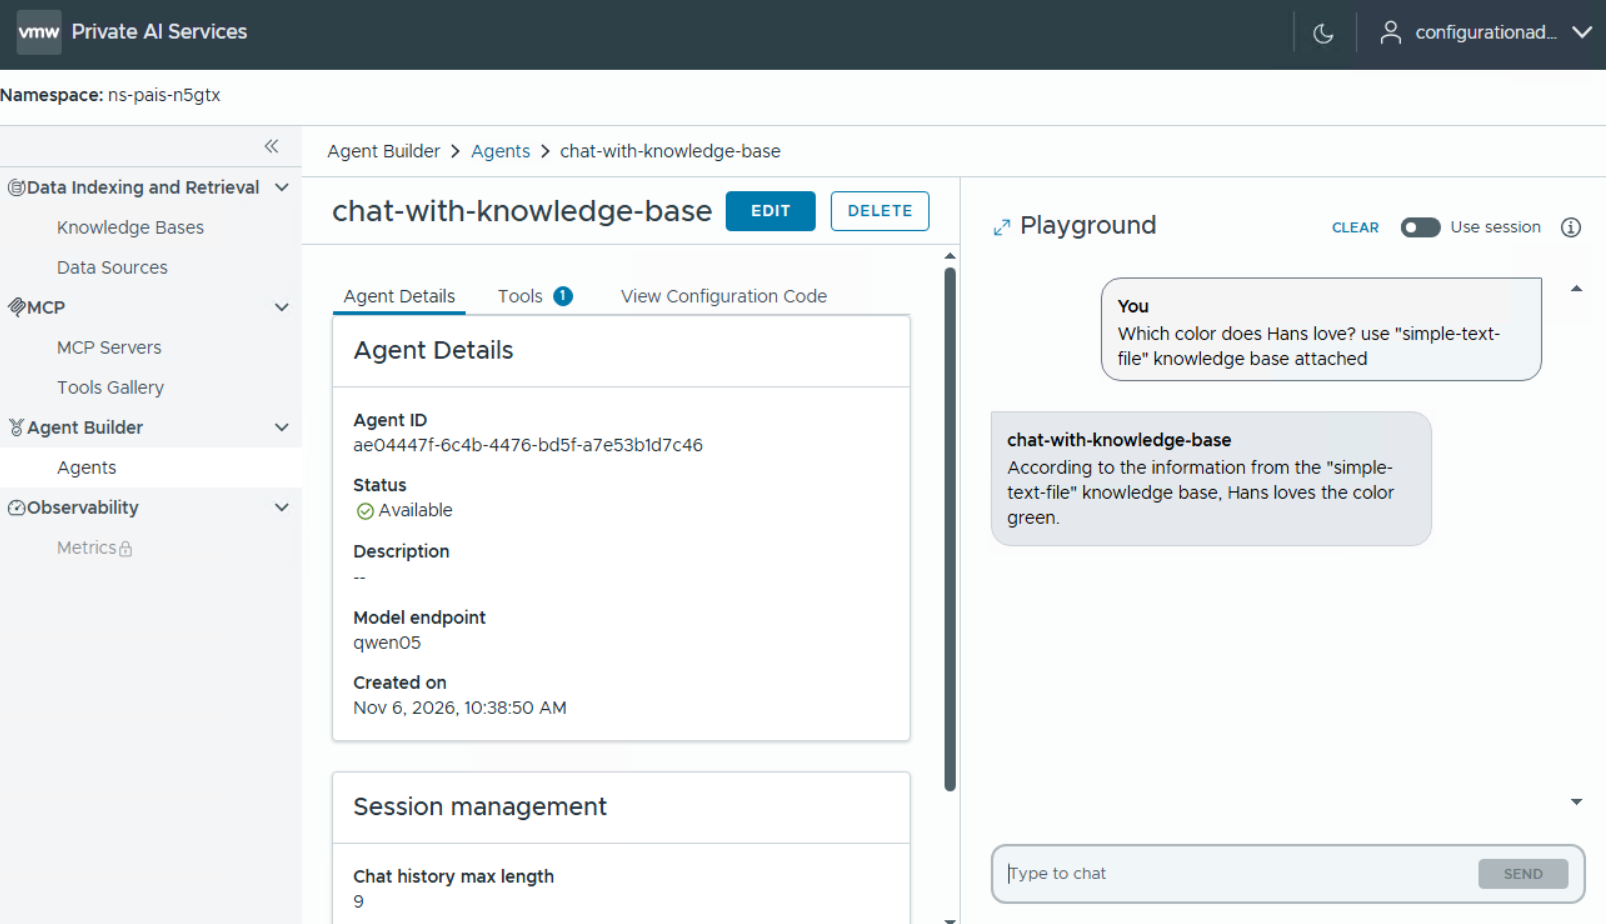
Create or edit your agent as before, but now configure additional tool settings.
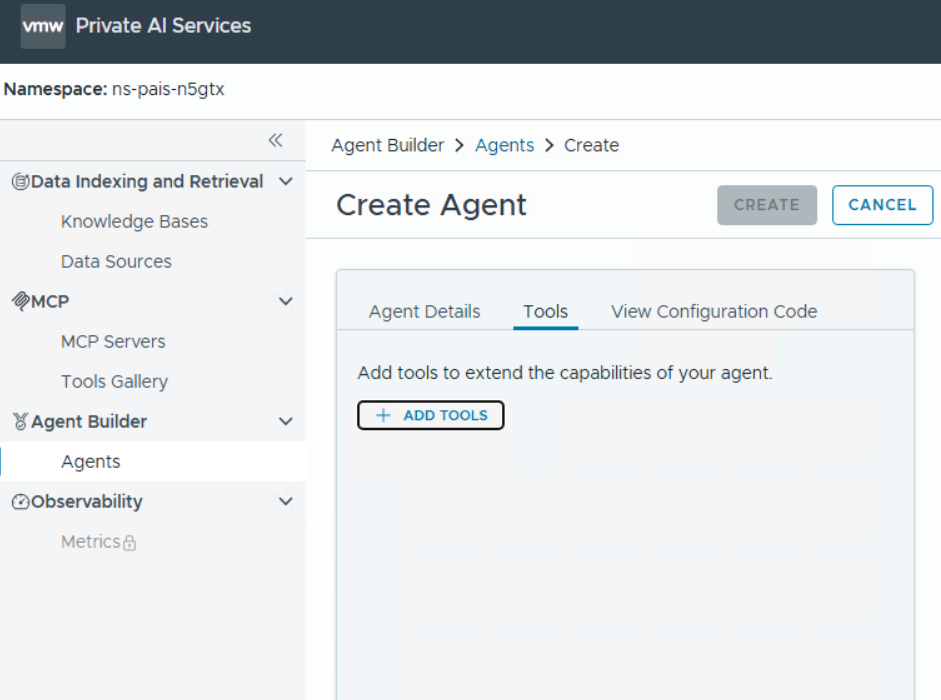
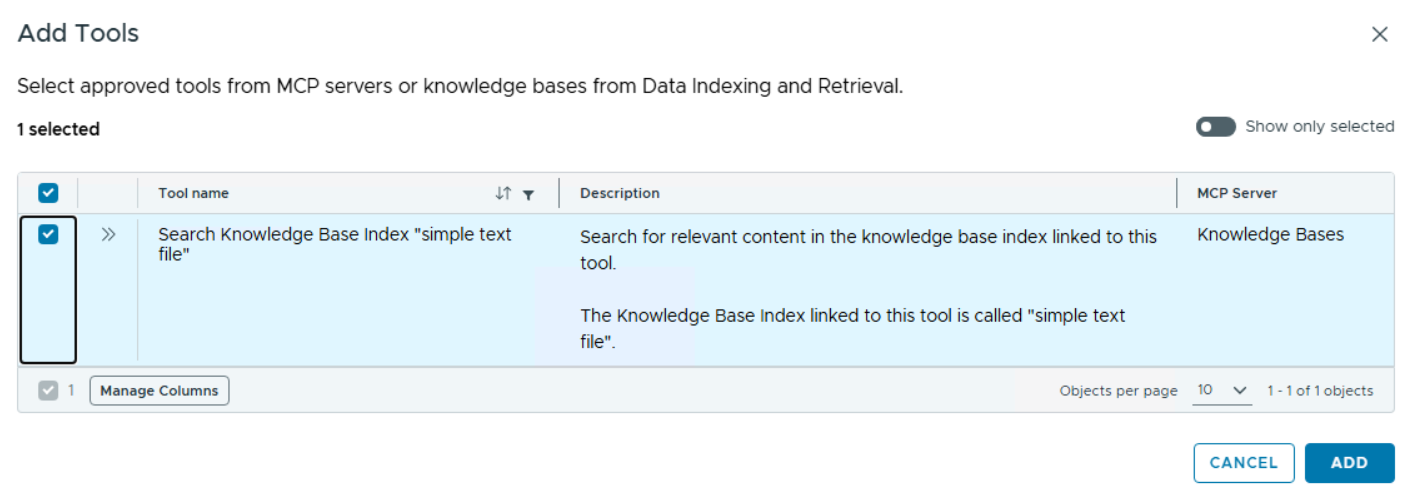
Select the knowledge base you created previously and add it as a tool.
Finish creating the agent.
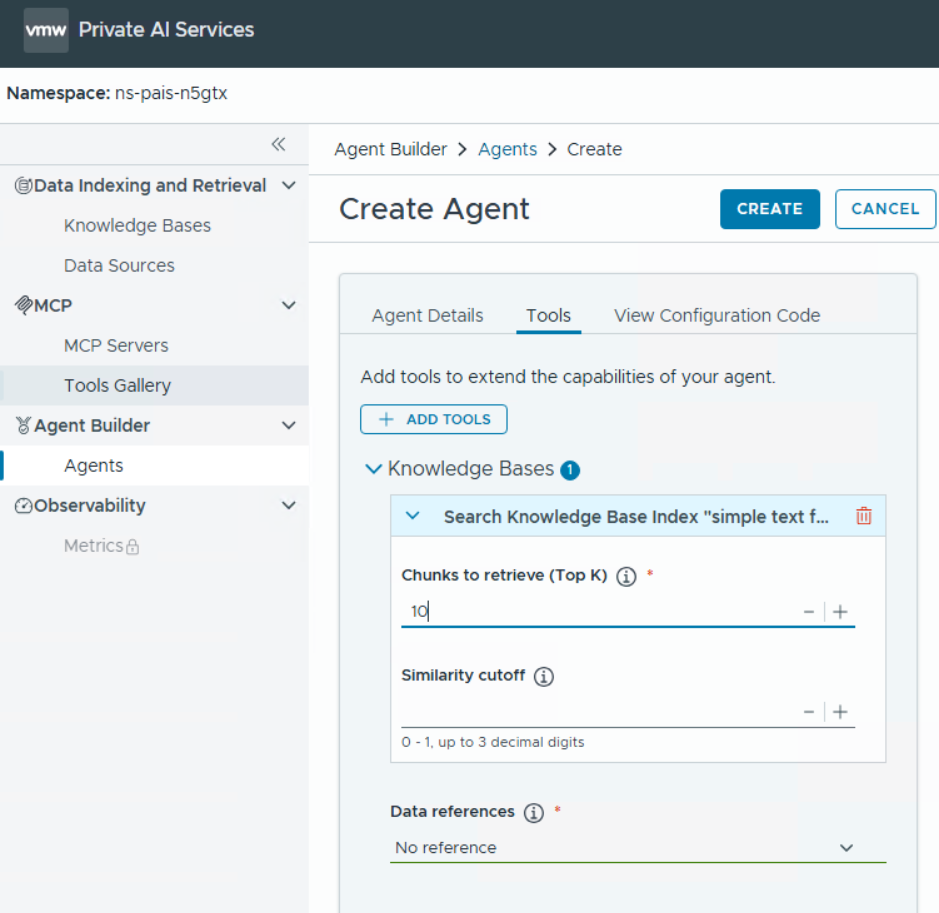
Test it in the Playground—make sure to instruct the prompt to leverage the attached knowledge base.

- VMware Private AI Services – a beginner’s experience - 10. November 2026
- VCF Automation 9 – Present Kubernetes labels as dropdown - 18. August 2026
- VCF 9 – Automated Offline Depot Server Creation - 19. May 2026